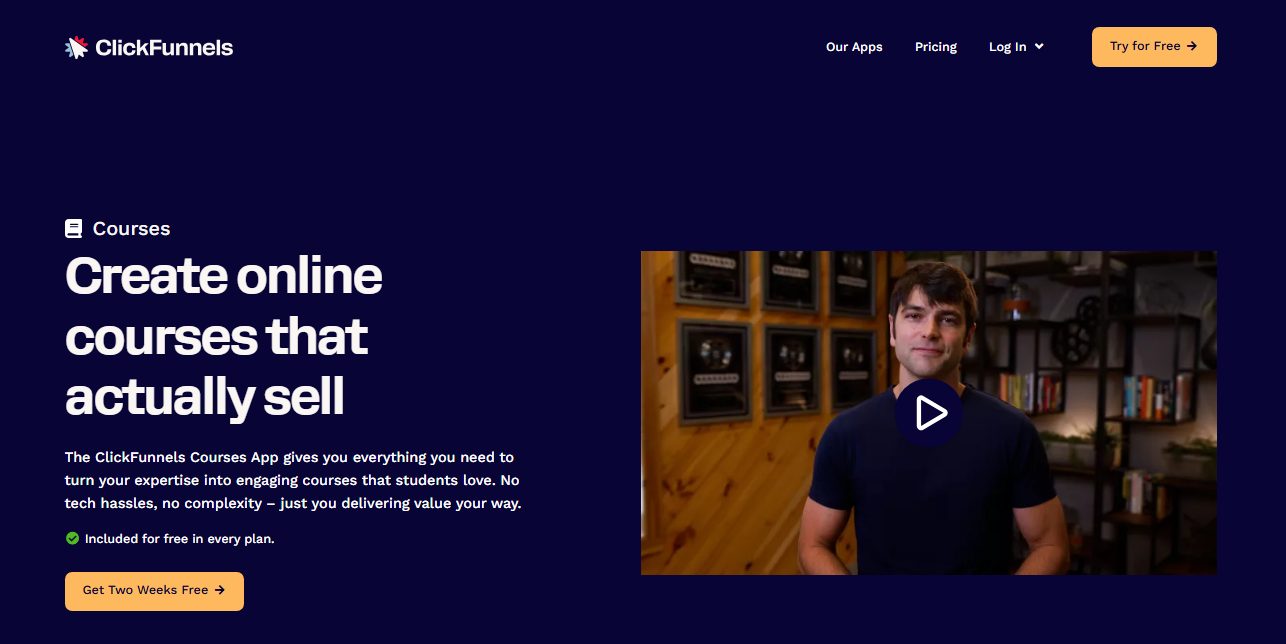
ClickFunnels has a pretty decent course builder. And while it doesn’t contain the depth of features you’d find on a dedicated platform, it still offers enough to get a learning content business up and running.
Key Takeaways:
- Create and launch unlimited courses and learning bundles
- A flexible course builder works like a website-building tool
- Increase the course value by including a community or live coaching
Why Host Courses on ClickFunnels?
Why indeed! ClickFunnels is a marketing platform, right?
Well, yes. But that’s where the advantages lie. Not only do you get access to an excellent course builder, but you also get ClickFunnels’ top-tier marketing tools.
That means you have everything you need within one platform to build, market, and sell learning content.
Besides that, all of its features are unlimited. So, whether you want to build one course or a million of them, ClickFunnels is not going to restrict you. That’s a pretty good deal for $97 per month.
What Types of Courses Can You Host on ClickFunnels?
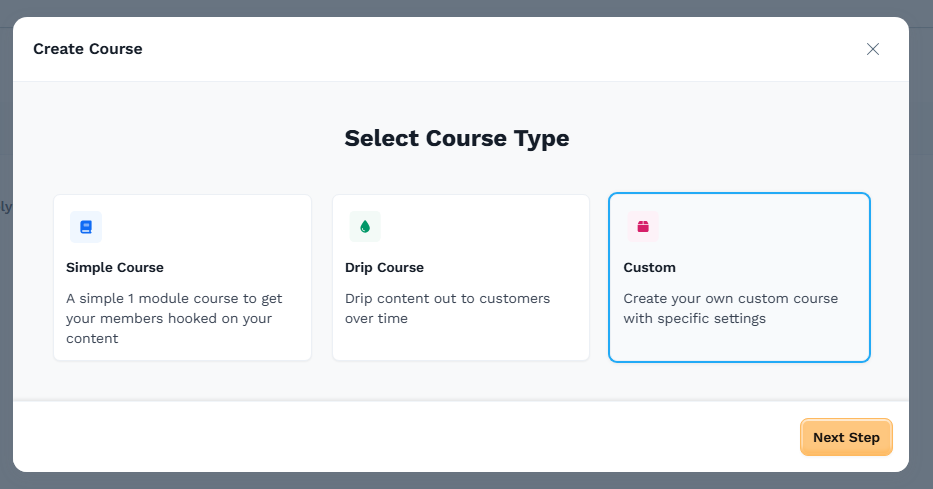
When you start creating a course in ClickFunnels, it gives you options for:
- Simple Course: One module
- Drip Course: Modules that are gradually released over time
- Custom: Create from scratch
To be honest, though, it doesn’t really matter which of these you pick because you can add in drip options, extra lessons, and modules, etc., when editing the content. This gives you the freedom and flexibility to design a course that works for the content in question.
The downside to using ClickFunnels for courses, though, is that it lacks proper tools for formal-style learning assessments.
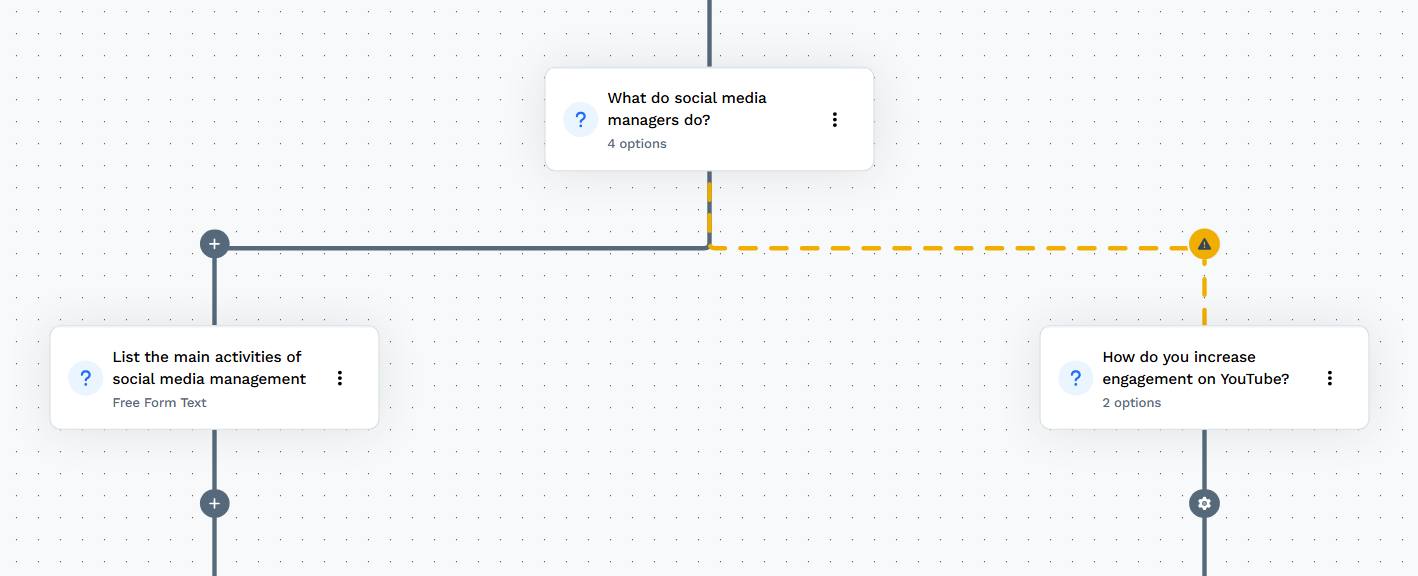
Use the ClickFunnels survey builder to create graded quizzes
Yes, you can build graded quizzes, but if you need a platform to facilitate exams or other types of assessment, I think a dedicated platform (such as Kajabi or LearnWorlds) is better suited to this purpose.
And let’s make it clear that ClickFunnels is not an LMS. Its course-building tools are not designed to support an organization’s training and development needs. But, for B2C, casual, or “fun” learning, I think ClickFunnels has exactly what you need.
ClickFunnels Course Hosting: A Step-by-Step Guide
With that said, let’s jump into how to get your first course up and running.
1. Create a Course Outline (Modules and Lessons)
Setting up your course outline is fast and simple. Click to Create Course, pick your course type, and follow the steps.
At this point, you can also decide if your course will be free or paid. Again, if you choose to leave it as a free course, you can switch it over to paid at a later time.

Once the first outline has been generated, you can start to add in what you need.
Next to each module is the option to Add Content. Here, you can add lessons and sub-modules as required.
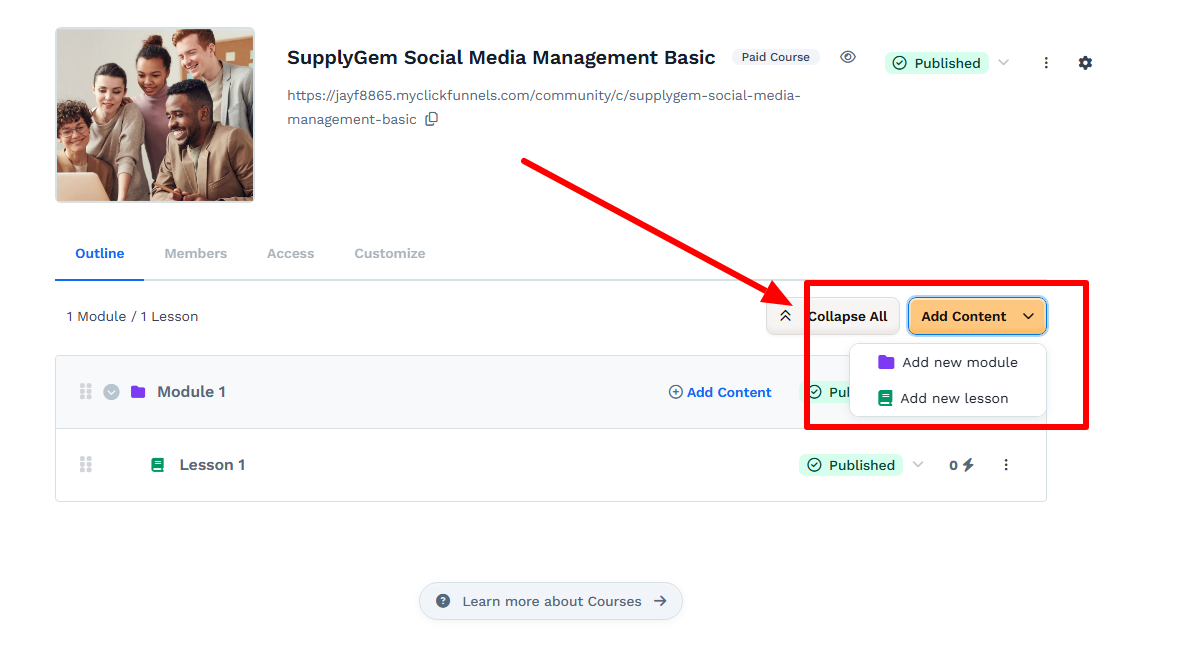
To add additional modules, click the orange Add Content button and select that option.
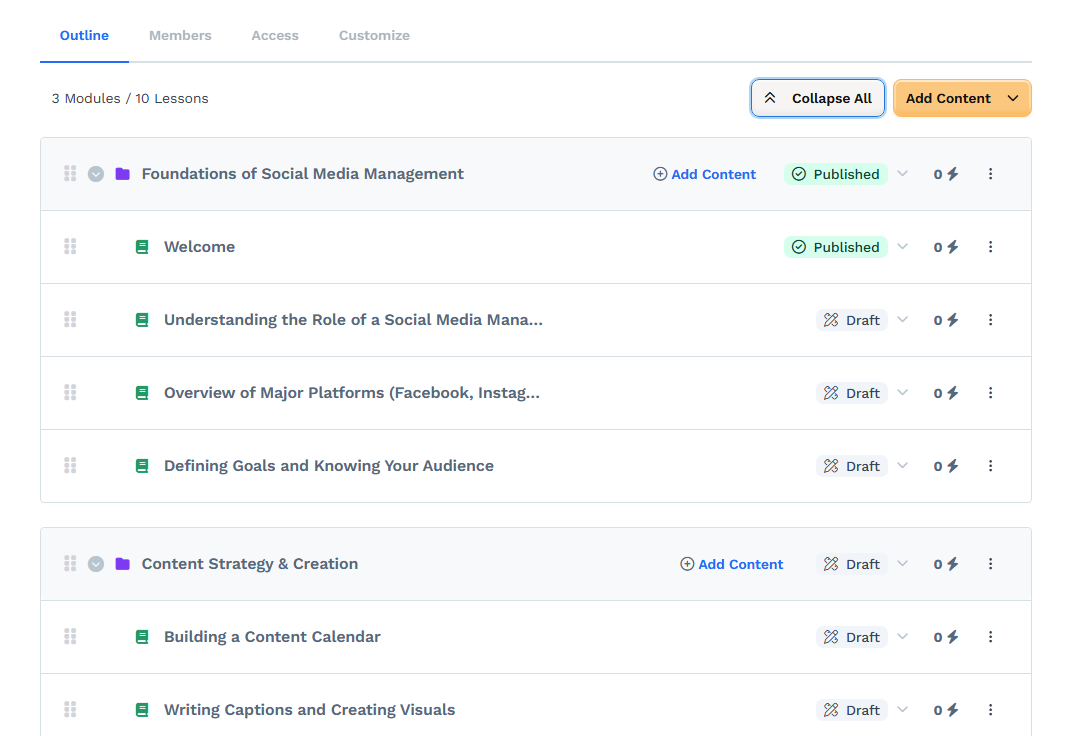
When your outline is complete, it will look something like this.
2. Add and Manage Course Content
The next job is to go into each of your lessons and add the content.
ClickFunnels has a very versatile lesson builder with a lot of options, so it’s easy to get overwhelmed and bogged down with page design.
My advice is to keep it simple to start off with, such as some text with supporting elements like video and audio files. You can always go back and make it look fancier at a later date.
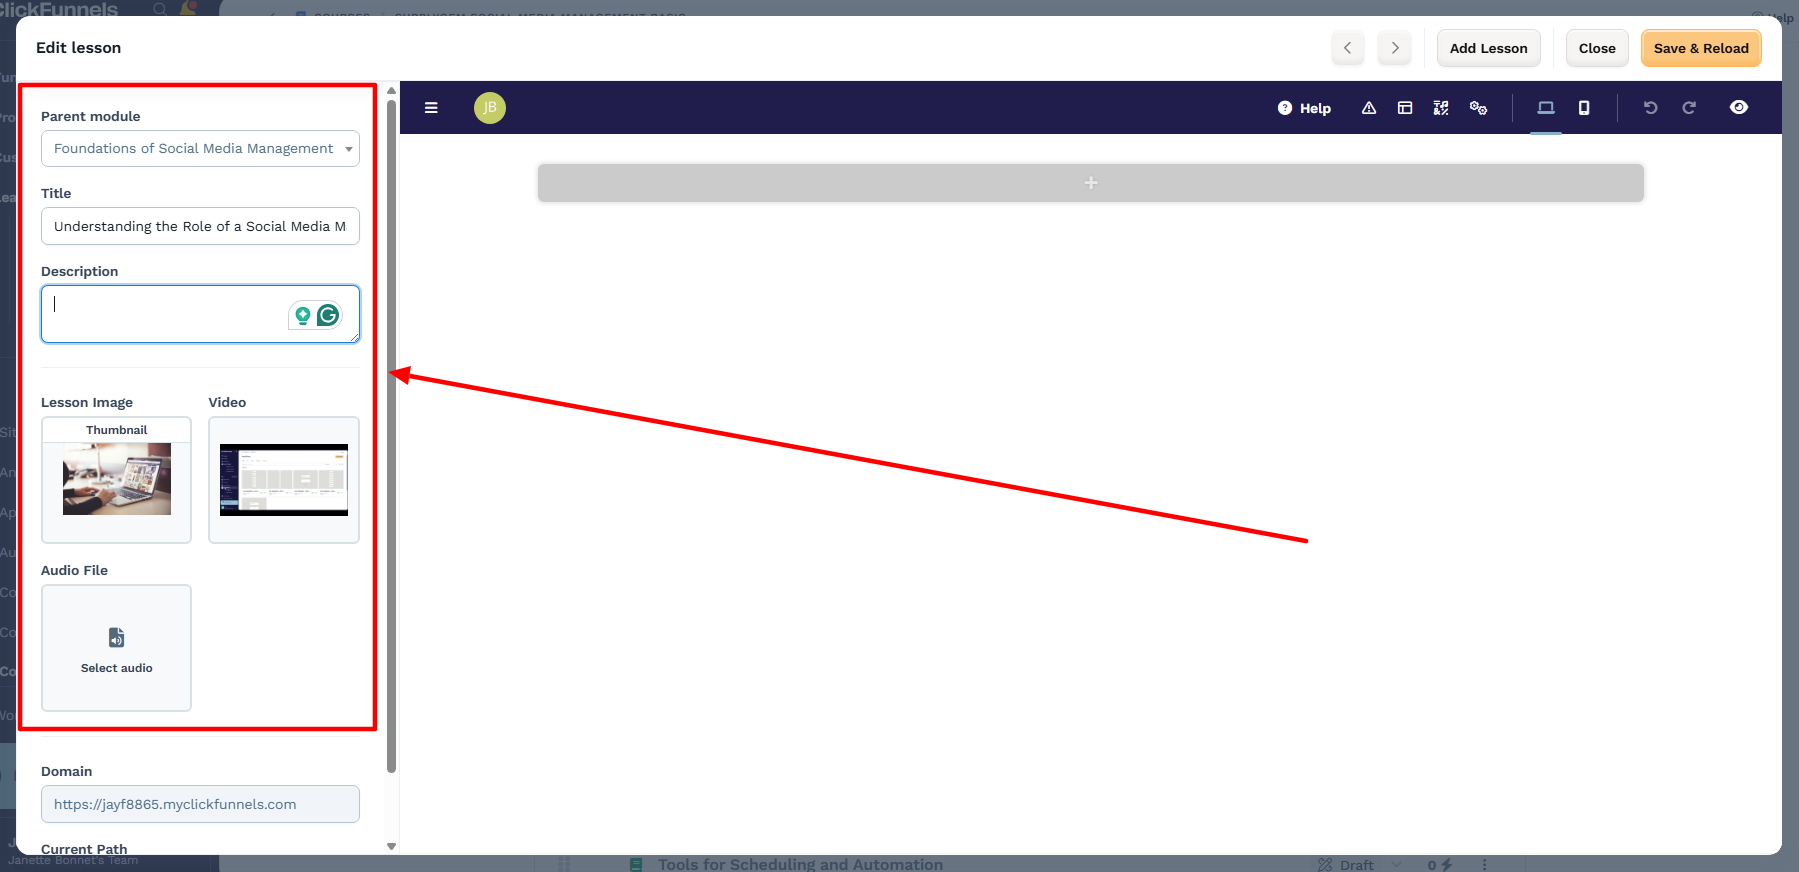
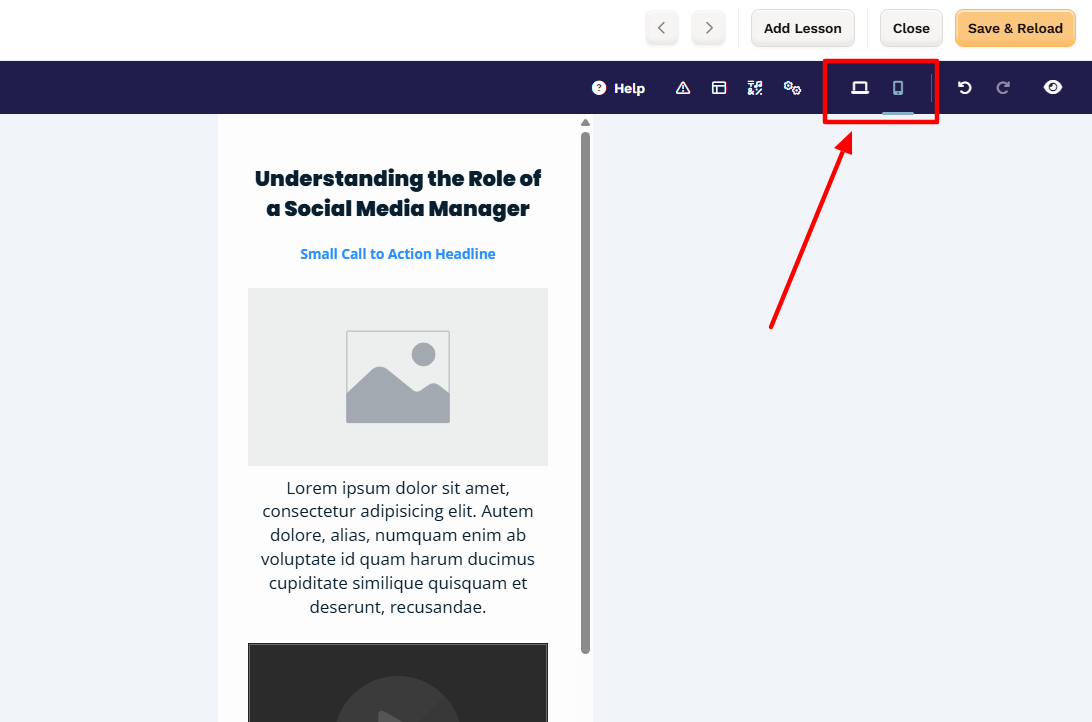
Click on a lesson title to open up the editing screen. On the left will be the lesson name and options to add an image, video, and audio file. These are essentially for previews of the lesson, not the actual content itself.
It’s a good idea to upload at least an image, as this will look good on the course outline page. It’s not really necessary to include video or audio.
Click the gray cross on the editing screen to add your content. Or, hover your mouse around the screen to add new sections and rows:
- Elements include headings, paragraphs, bullet lists, etc. Everything that the student is going to view on the page.
- Sections break the page up. So, if you have several different videos for one lesson, it’s a good idea to add a section for each of these. ClickFunnels has a bunch of prebuilt sections that act as mini templates.
- Rows break sections into sub-sections with columns so you can add content side-by-side.
Once you’ve got the layout looking how you want it to, click on each element to customize it and add your content.
Really, the whole thing works just like a web page builder, so if you’ve used one of those before, you’ll find it quite intuitive.
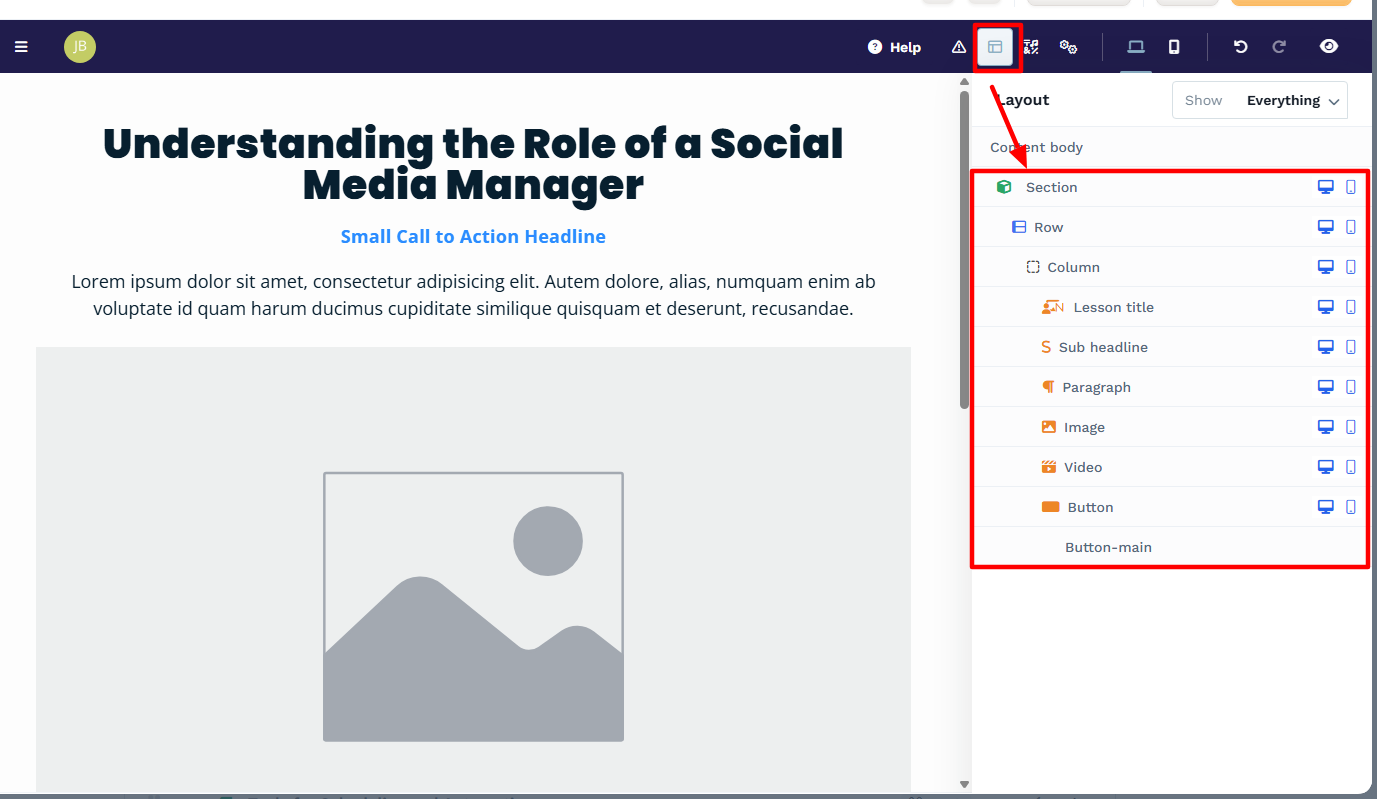
To change the order of the content, click the icon in the above image, and you’ll get a list of all your on-page elements. Then, all you do is drag-and-drop them into their new position.
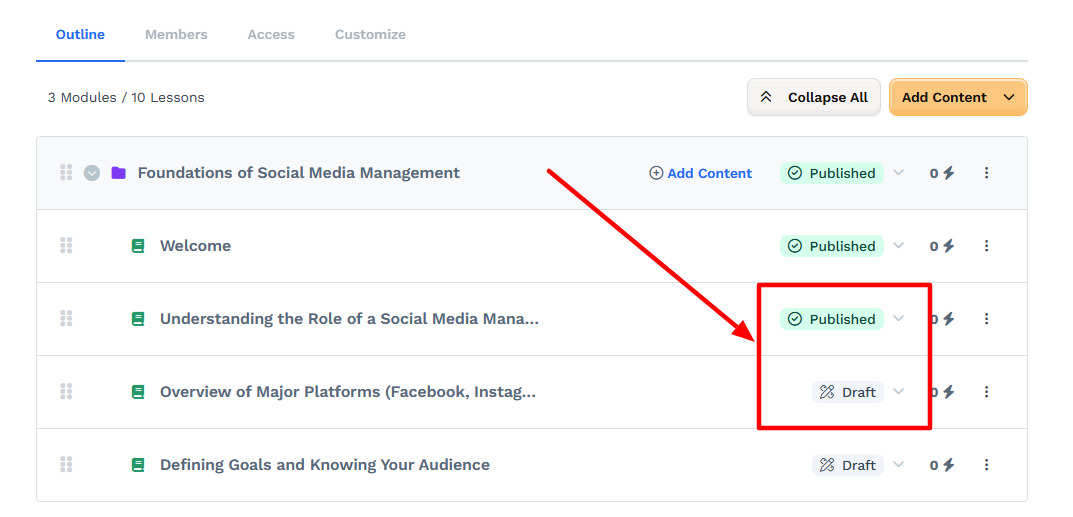
As you go through each lesson, make sure you switch them from Draft status to Published status on the outline screen. If they’re in Draft mode, students won’t be able to view them.
3. Configure Course Settings
Each module has a couple of extra options.
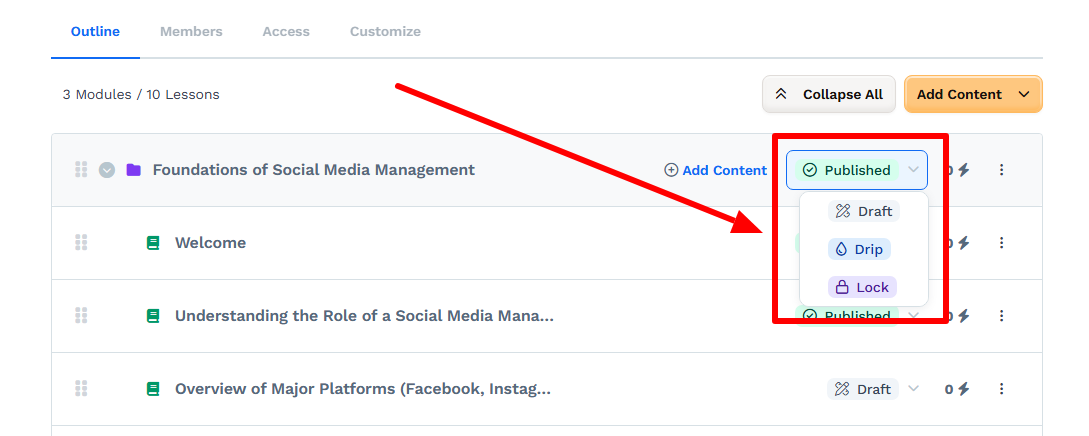
Dripping content means it’s released over time. So, when someone purchases a course, you might not want to give access to the entire thing at once.
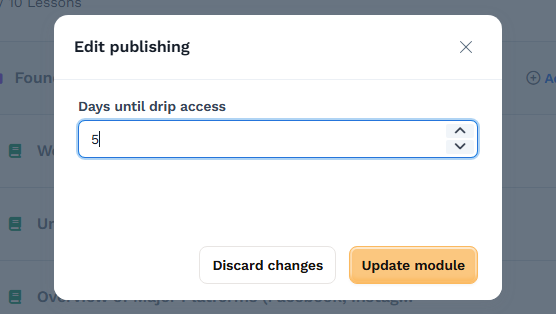
In this case, select Drip for your modules. This gives you the ability to choose when the module is available from the course purchase date.
For instance:
- Module 1: Available immediately
- Module 2: Available 7 days after purchase
- Module 3: Available 14 days after purchase
- And so on…
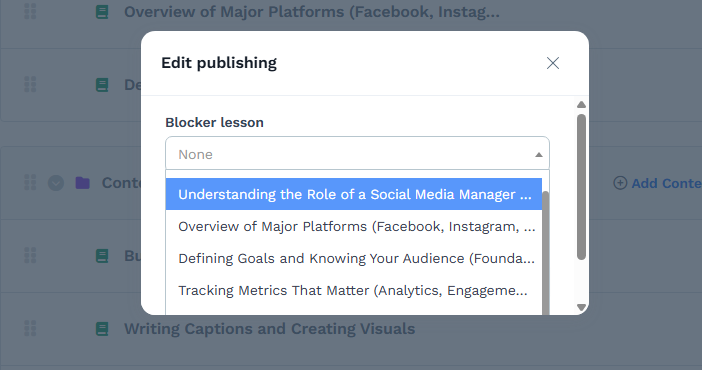
Locking content forces the student to complete a lesson before they can access the next one.
When you choose the Lock option, you can pick which lesson the student must complete before they can access the new one.

If you click the three dots to the right of a module title, you’ll find some more options:
- Preview: Lets you look at the course content from a student’s point of view. This is great for understanding what the final product will look like.
- Duplicate: Copies the module and all lessons. Use this to save time when building lessons with a similar structure.
- Edit: Allows you to adjust the module title, thumbnail image, etc.
Along the top of the course outline are a few extra tabs to be aware of:
- Members: Shows who has enrolled in the course and how much they have completed.
- Access: Customize (and monetize) how students can access the course by creating new offers. For example, you could have the first module as a free trial, then charge for the subsequent modules. Or, you can have a separate charge for each module.
- Customize: This lets you change the course homepage theme (note that changing the theme has no impact on your lesson designs).
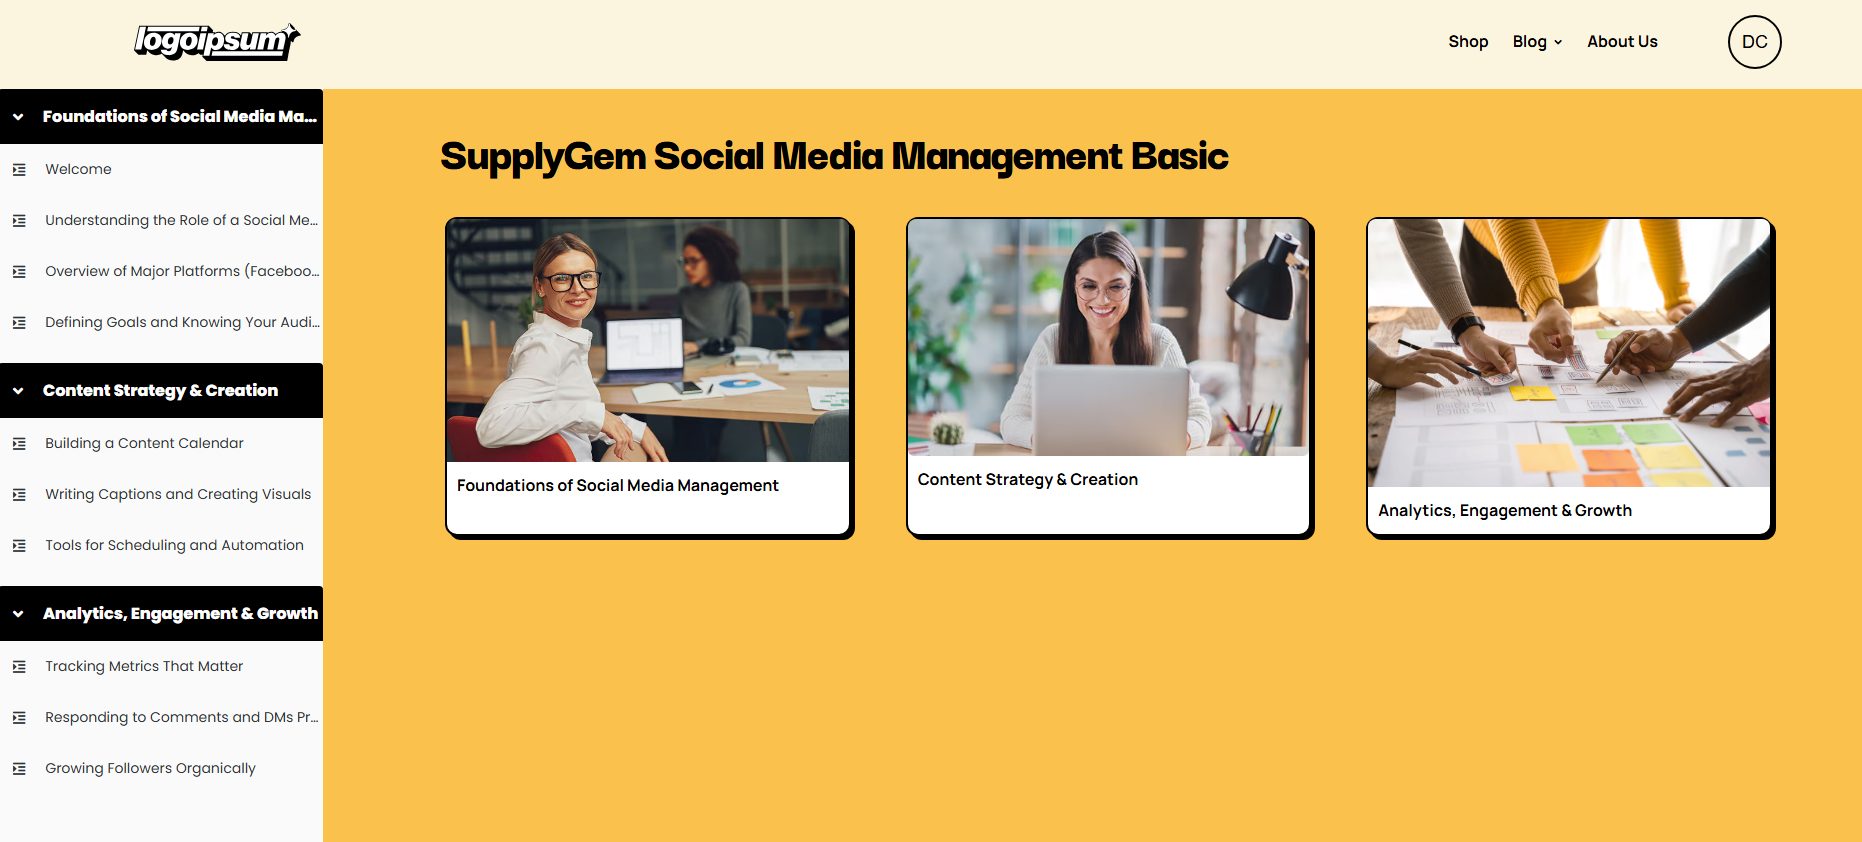
4. Customize the Theme
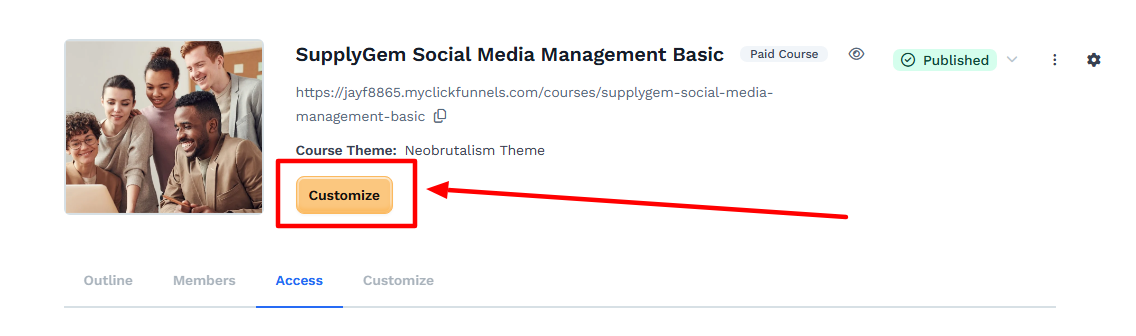
Hitting the Customize button underneath your course title opens up the course homepage. When you do this, it will look a little weird, but don’t worry!
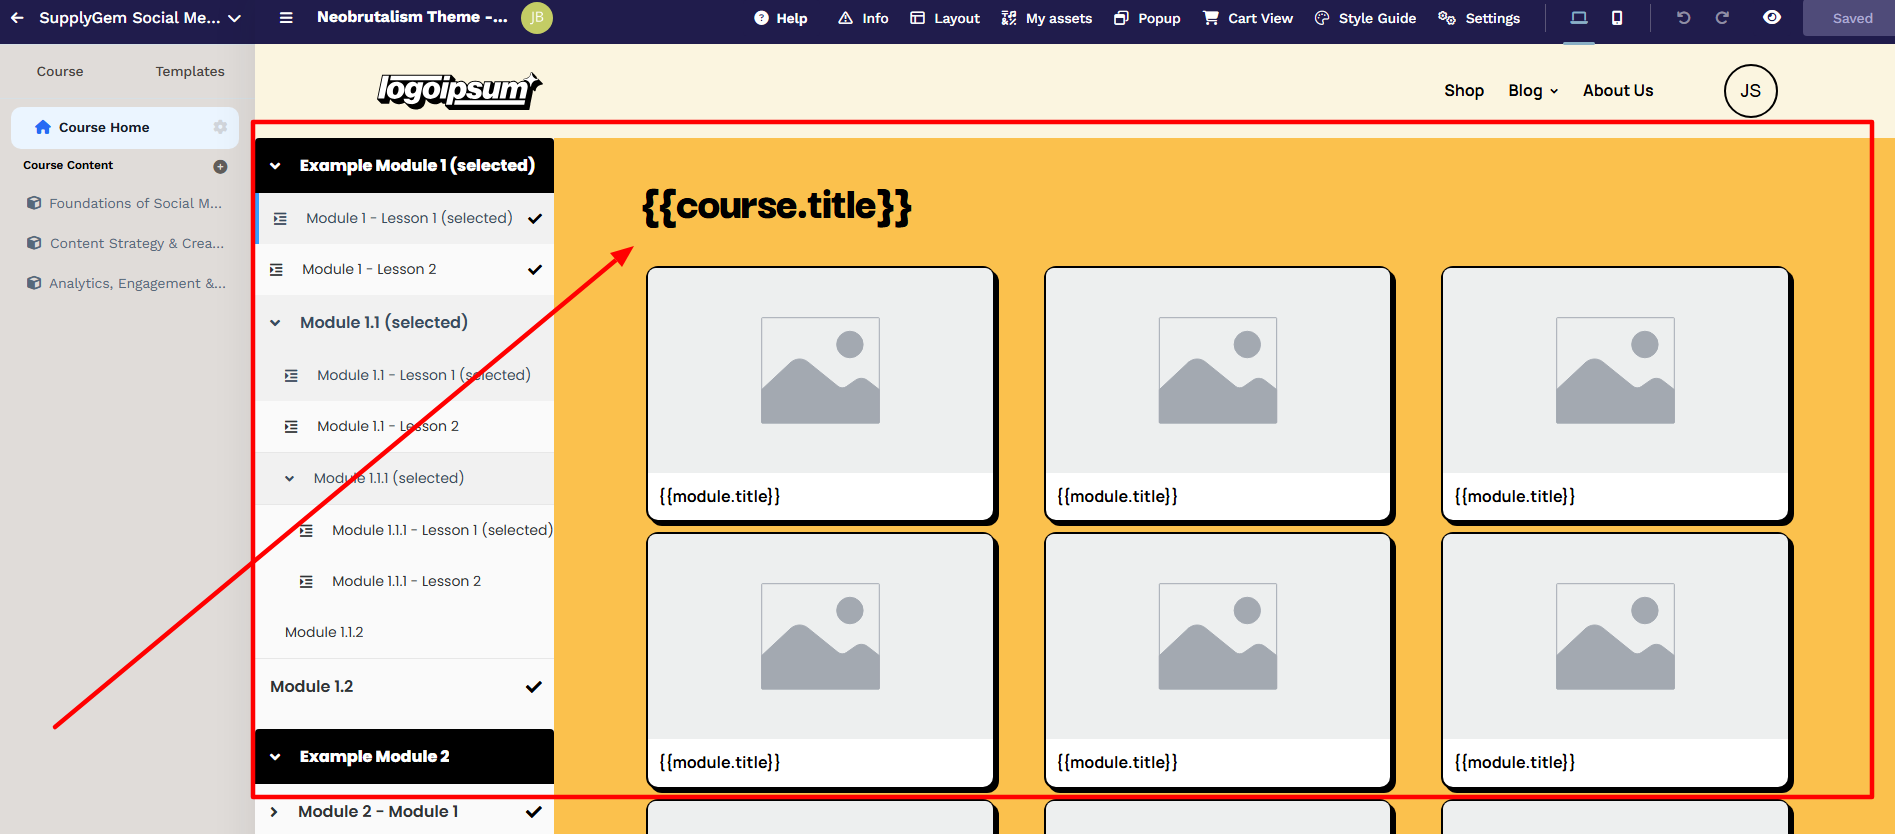
Depending on your chosen theme, it will look something like this.
The blank fields with text in brackets are dynamic and will auto-populate with your course content. Unless you’re very familiar with these types of page elements, I don’t advise messing with them.
However, you can add additional elements, rows, and sections to the page, just like you did for the lesson pages.
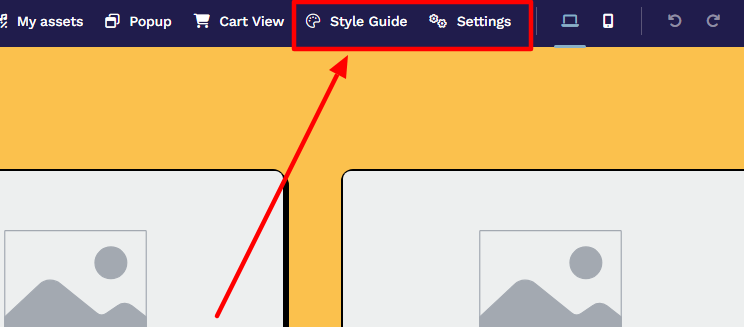
To edit the page design, click on Style Guide and Settings. Here you can change the palette and fonts, etc.

To see what the page looks like in “real life,” click the eye icon in the top-right corner.
Ta-da! Those weird-looking page elements don’t look so strange anymore!
5. Configure the Order Form
If you’re running a paid course, you’ll need to set up a sales page so people can purchase it.
To do this, you’ll need to create a funnel with an order form page and assign your course as the product.
To assign the course, click the three dots on the funnel order form step. Then, select Add Product. Click on your course and then go into the editing tool to customize the page.
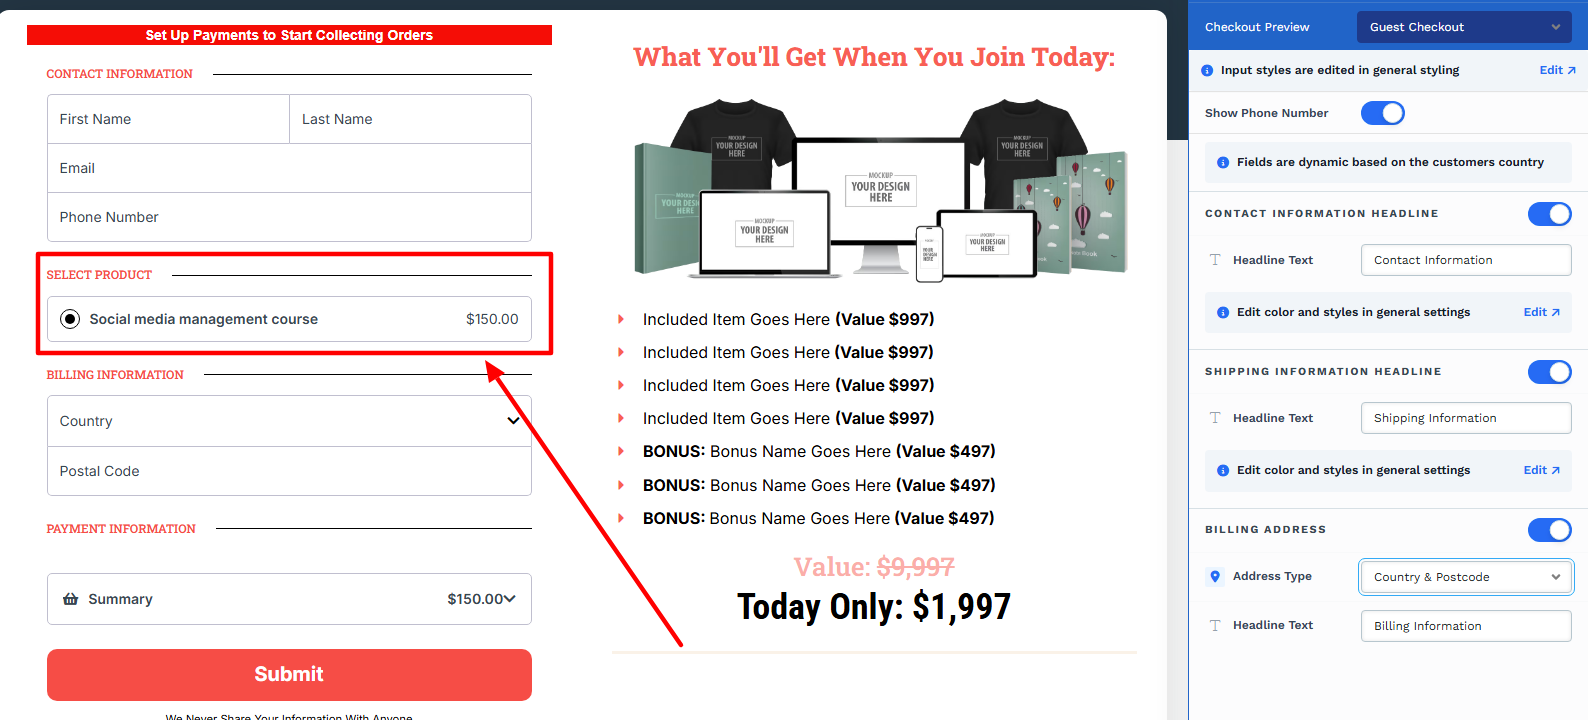
If you used an order form template, you’ll have to adjust the product text to match your course details.
Also, don’t forget to set up a payment gateway so you can actually take payments!
4 Ways to Boost the Value of Your ClickFunnels Course
1. Bundle with Other Courses or Products
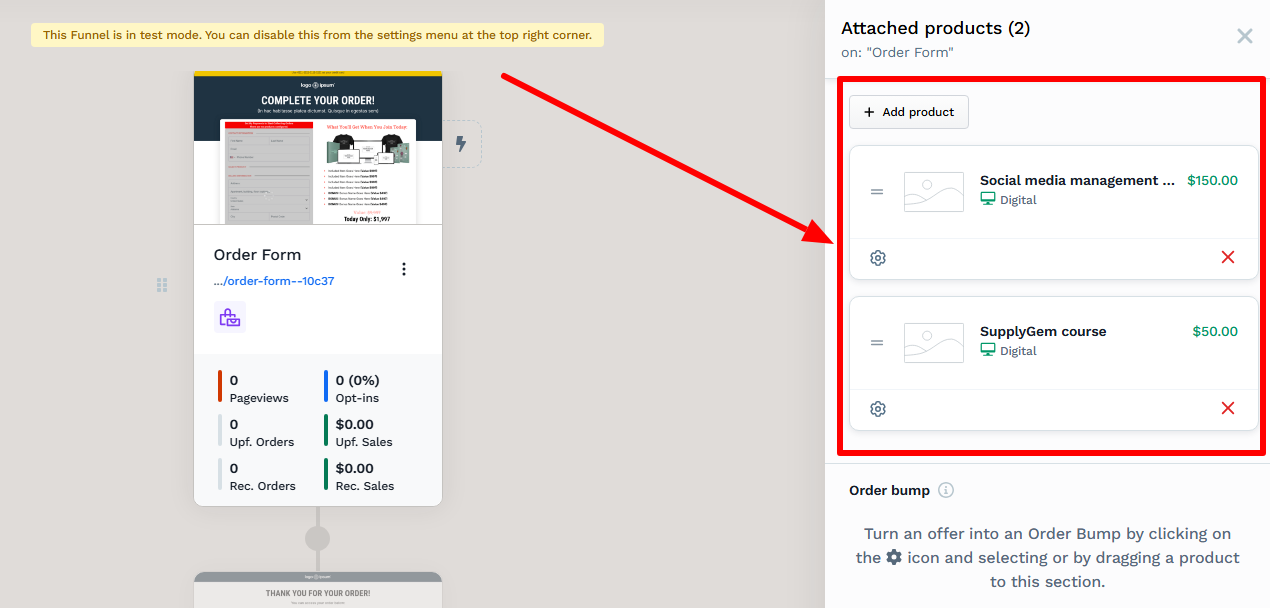
Why stop at one course?
If you have a collection of highly related products, try offering them as a bundle for a discounted price. This provides excellent value to the customer since it costs less than purchasing them separately and lands you with a nice revenue boost.
To do this, just add more products to your order form page—you can add as many as you like.
Another option is to offer additional courses as order bumps or upsells. Just make sure that:
- Any order bump course is of lower value, yet highly related to the initial purchase
- Any upsell course is of higher value than the initial purchase and is positioned as a premium product
2. Connect a Community
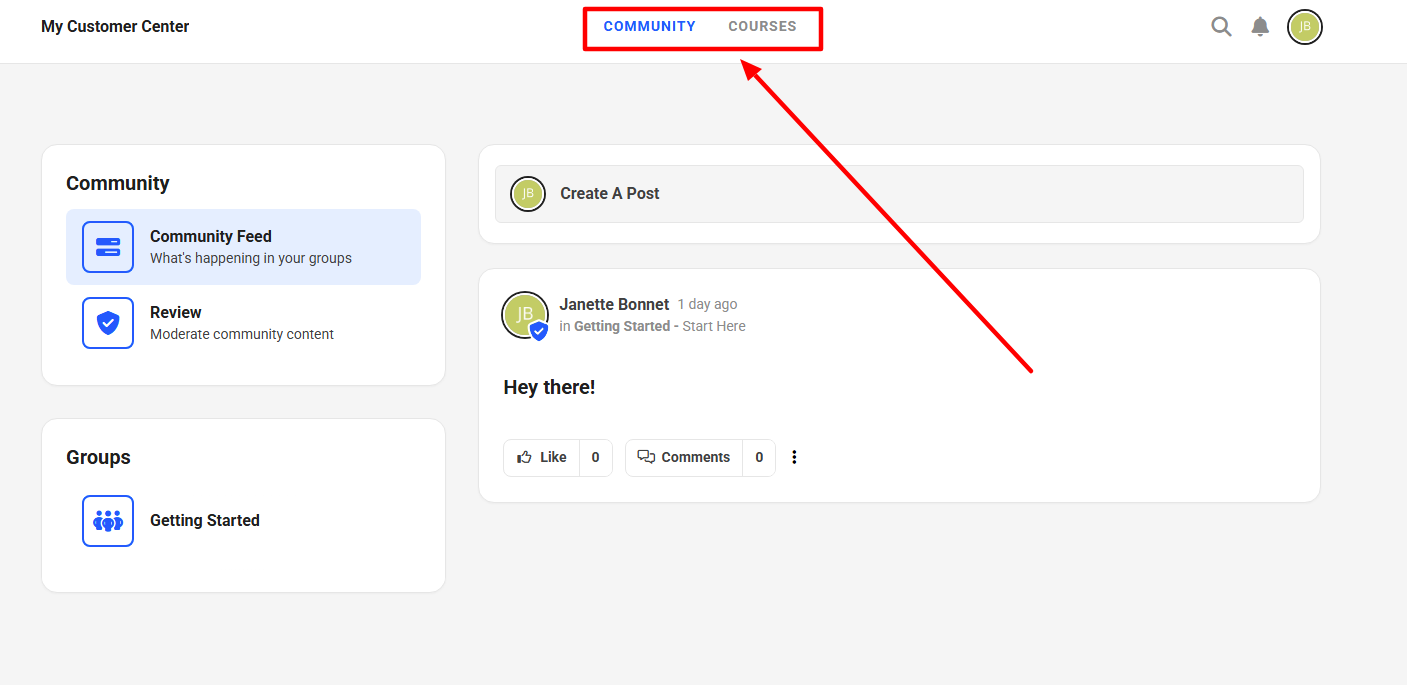
Communities are excellent for upping the value of your learning products. They serve as a place for students to engage with each other, ask questions, and gain access to exclusive information.
Although ClickFunnels’ community feature is basic, you should still use it.
It can be connected to your courses and offered as part of the price. Or, you can include it as a paid extra.
You can even create tiered access.
For example, “general access” might be included with the course price and include one chat group, while “VIP access” might come as an upsell and include additional chat groups with exclusive content.
3. Provide Live Support
Think about when you pick a product or service. Are you more likely to go for one that offers live support or one with email ticketing?
The thing is, your students are going to need support. Whether it’s troubleshooting or questions about the learning content, they need an easy way to get hold of you.
And getting instant answers can make the difference between a satisfied learner who completes your course and one who drops out in frustration.
Of course, this doesn’t mean you need to be available 24/7. Set clear availability times and consider using tools like chatbots or FAQs for common queries.
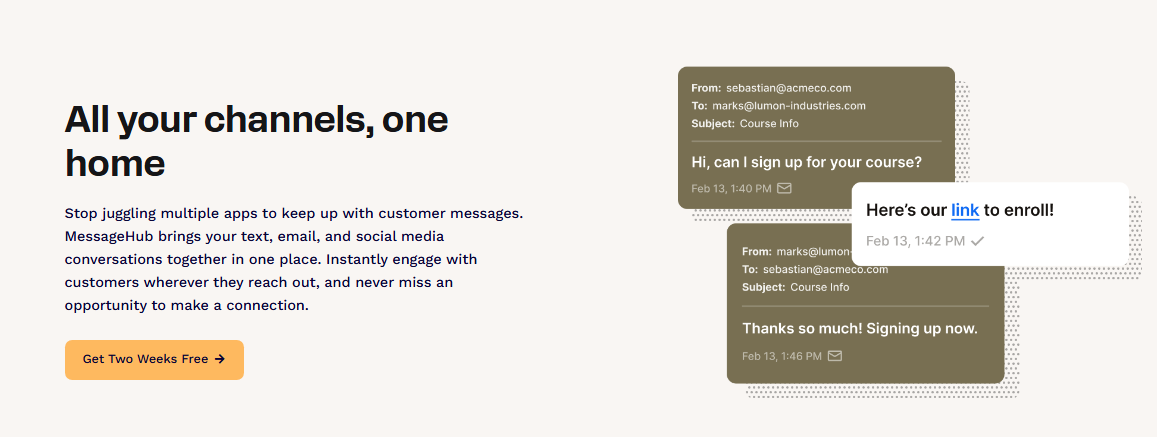
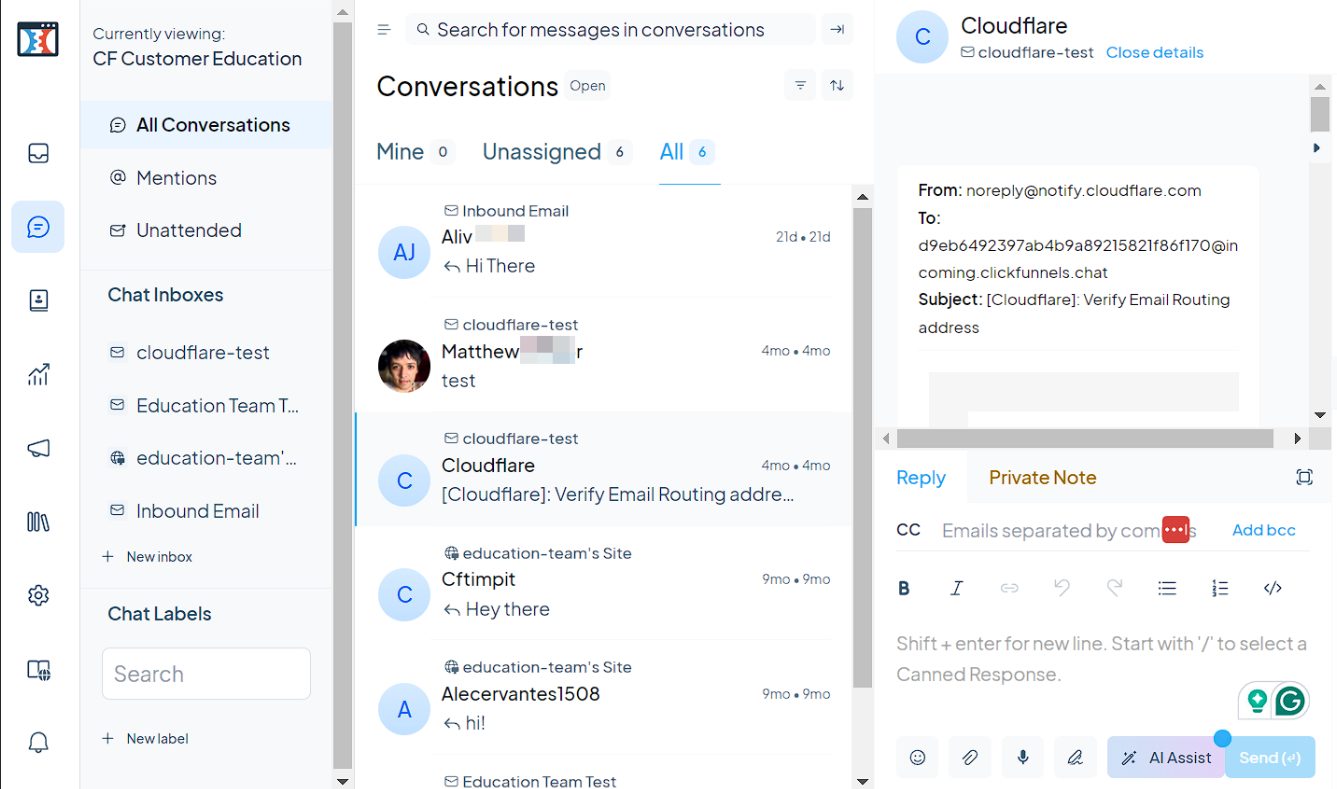
ClickFunnels has a unified message hub enabling you to view and respond to incoming messages in real time, so use this to your advantage.
While the platform doesn’t natively support SMS, WhatsApp, social media, or chat widgets, it does allow connections with these services (via Zapier), enabling you to manage conversations seamlessly from within the platform.
4. Include Live Sessions
Live learning sessions boost your course revenue by allowing you to charge more for real-time learning and support. Better yet, live sessions do a great job of keeping students engaged and improving completion rates.
As an extra bonus (for you), you can repurpose the live content as promotional material or additional content within your course.
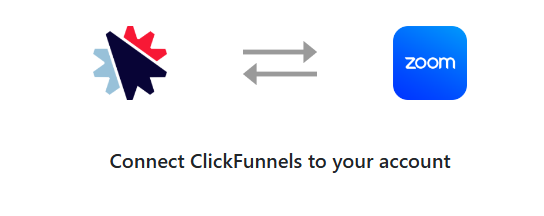
Okay, so one disadvantage of ClickFunnels is that it does not have a native live streaming app. But that doesn’t mean you can’t use it for live sessions.
You can—you just have to integrate the platform with Zoom, GoToWebinar, or WebinarFuel (or use Zapier for other livestreaming platforms).
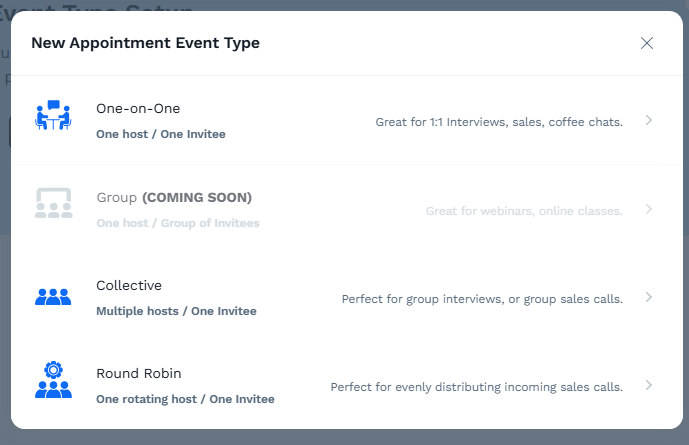
What it does have, though, is a full scheduling and booking app. So, if you want to offer live coaching with your course, all you have to do is give customers a way to book their sessions.
5. Adopt a Subscription Model
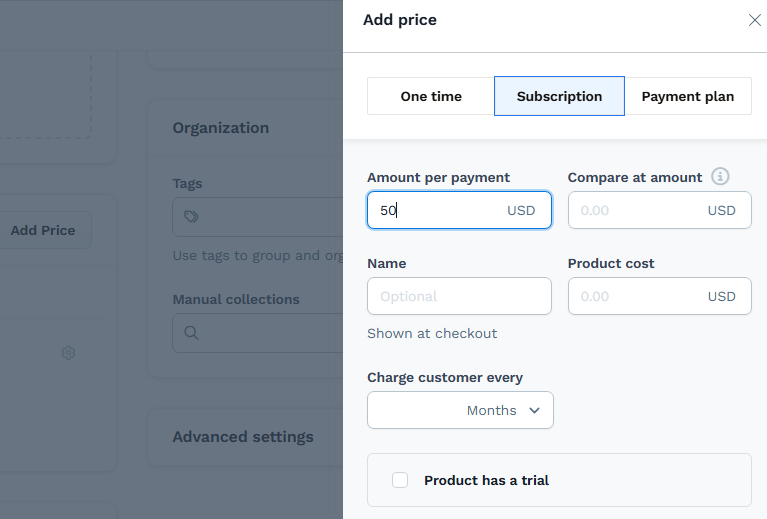
If you feel you can add regular content to your course, why not charge for it on a subscription basis rather than a one-off fee?
Of course, this isn’t going to work for one-off courses, but it’s definitely ideal for ongoing learning.
An alternative is to release modules gradually (do this by drip-feeding the modules). However, this will only work if the modules are large enough to justify paying a monthly fee for them.
Try to think about it objectively. If you were the customer, how much would you be happy paying each month, and what would you expect in return?
3 Examples of Courses Hosted on ClickFunnels
Mastermind
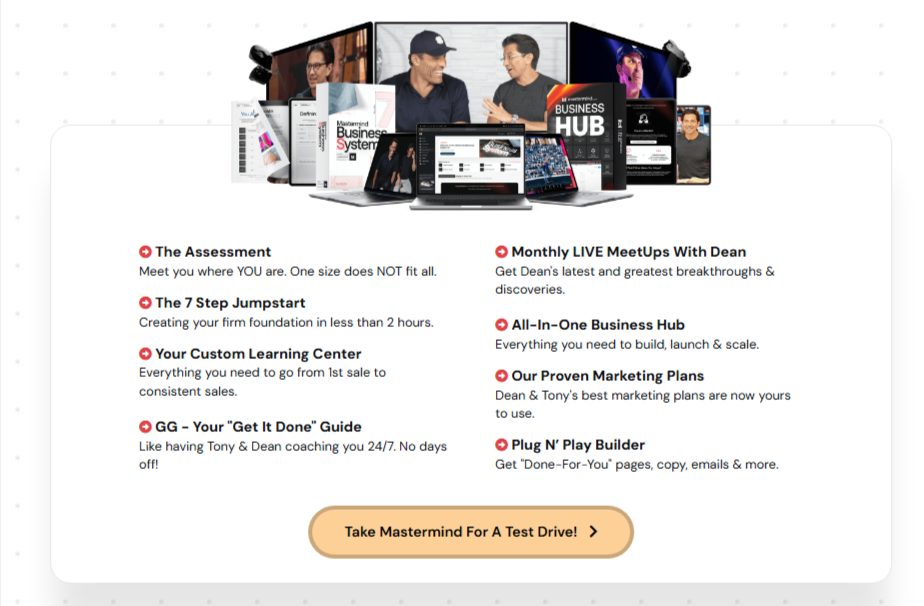
You’ve heard of Tony Robbins, right? Well, he’s a long-time user of ClickFunnels and uses it to host his Mastermind program.
Besides course content, it includes a variety of elements, including monthly live meet-ups, marketing resources, guides, and more.
Mastermind costs $997 per year, with a 14-day free trial for $1.
Speak to Freedom
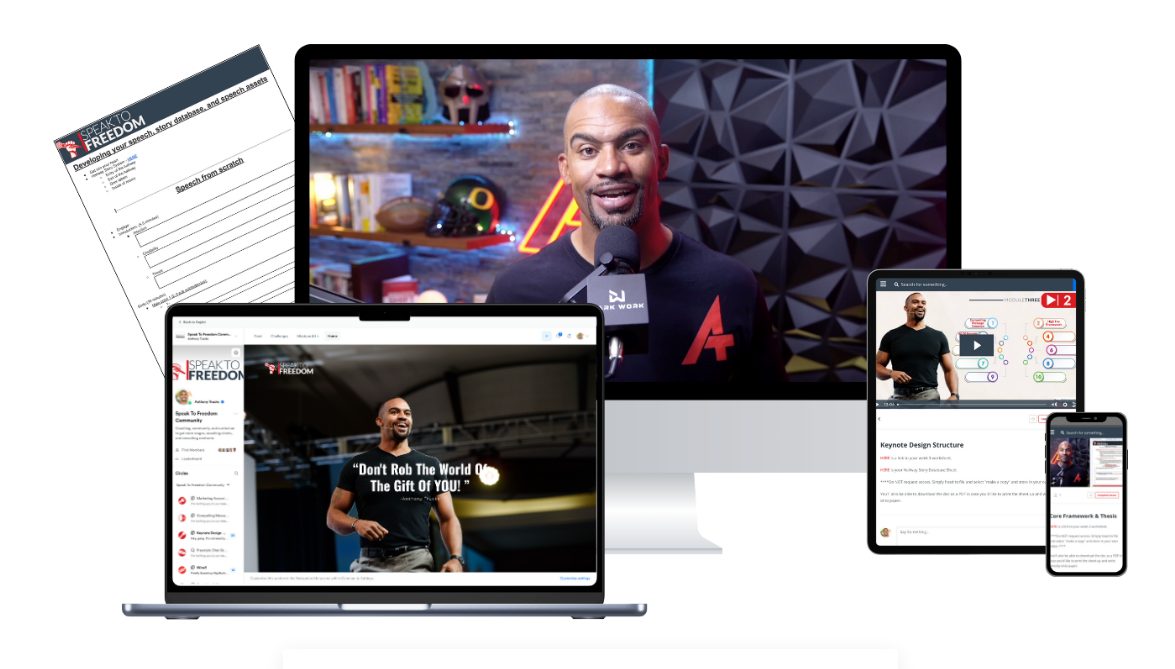
This membership site, developed by Anthony Trucks, consists of a 10-phase course program, a series of live coaching calls, and other resources. The course aims to help individuals launch their public speaking business.
While full pricing details aren’t disclosed, interested individuals can join a free masterclass to find out more.
Formula Botanica
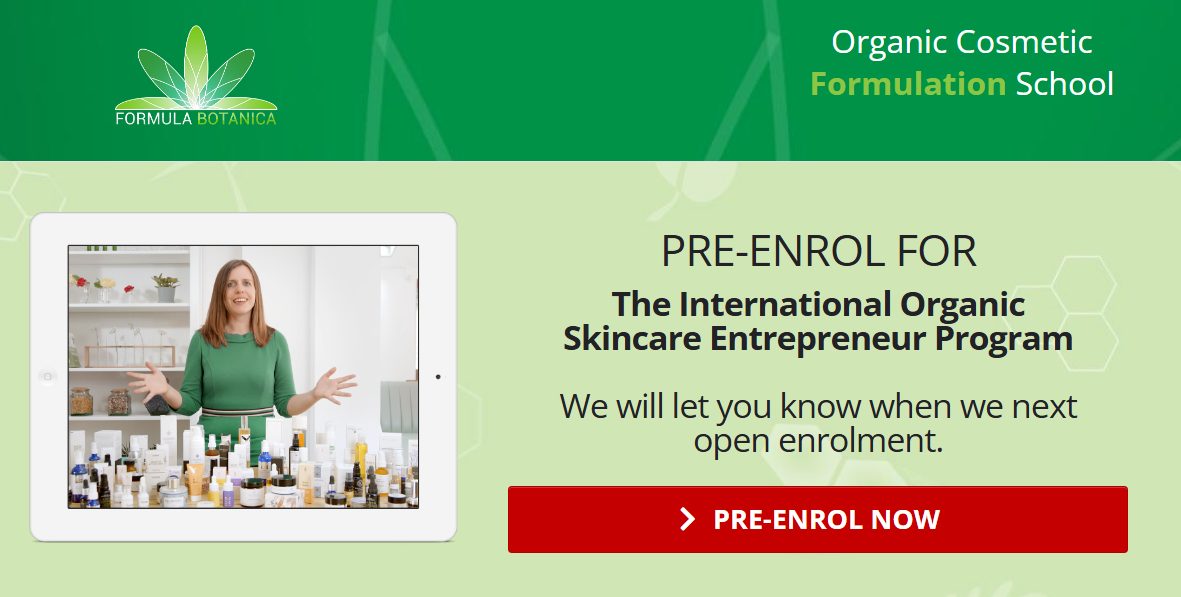
Formula Botanica offers an International Organic Skincare Entrepreneur Program for $2,600 (£1,997). The program includes over 100 video lessons, study books, and live tutor support.
Enrollment is only available at certain times of the year, and interested individuals can sign up for a waitlist. While they are waiting, they get access to a free 10-episode masterclass.
Frequently Asked Questions
Can I Use a Custom Domain for My ClickFunnels Course?
Yes, you can use a custom domain for your ClickFunnels course, and it is encouraged to do so. Using a custom domain gives your site more credibility and helps build your brand.
Can I Create Membership Sites in ClickFunnels?
Yes, you can create membership sites in ClickFunnels. The platform includes built-in tools to create, manage, and restrict access to content, making it ideal for hosting multiple courses in one place or managing subscription-based offerings.