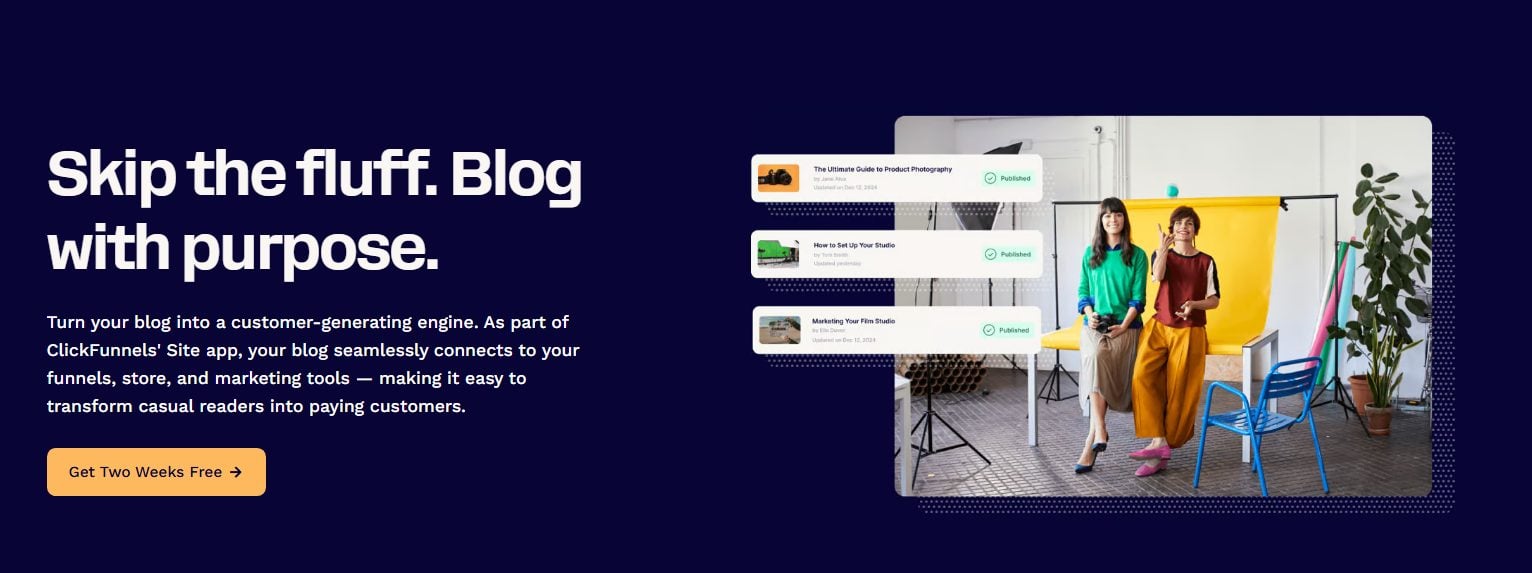
ClickFunnels features a blogging tool that allows you to create an unlimited number of posts.
While it’s sufficient for low-volume blogging, professional bloggers will find the basic tools restrictive.
Key Takeaways:
- Blog posts can be published immediately or scheduled
- Dynamic elements enable the automatic updating of post and category lists
- WordPress and DropinBlog are better choices for professional bloggers
ClickFunnels Blogging Features: What Do You Get?
Detailed Page Builder
The ClickFunnels blog builder works exactly the same as its usual page builder, giving you access to a lot of options.
Essentially, you can construct your blog posts in any way you choose. There are prebuilt page sections that you can use to include elements such as headers, testimonials, FAQs, and more.
Then, you can include almost any type of page element, such as buttons, videos, forms, or surveys. The only thing you can’t add is any of your offers (though you can include a link through to them).
While the level of customization is excellent, it might be too much for some users. Having endless options for how to style your blog posts can distract you from the main mission—actually writing the information!
Customizable SEO
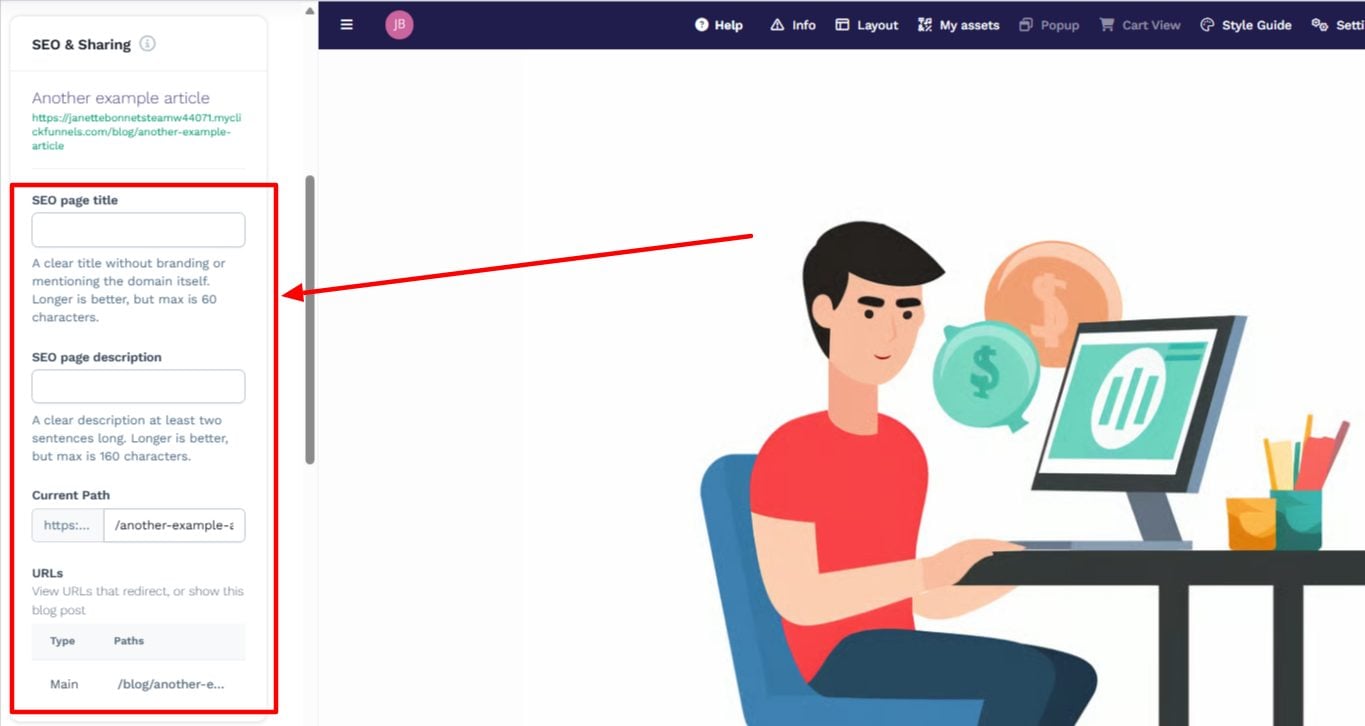
The SEO tools are what you’d typically expect to find. There’s an area to input the meta title and description, and you can also customize the page URL to match your primary keywords.
Beyond that, ClickFunnels does not provide any tools to help you find suitable keywords or understand how well-optimized your pages are. You still have to use third-party software or rely on your own research to find topics to write about.
Post Scheduling
The platform contains a basic scheduling tool that allows you to select a date and time for your blog post to go live.
Each blog post has to be manually scheduled, and I find it a shame that there’s no way to automate this process or bulk schedule multiple posts. It’s also not possible to automatically post blogs onto social media. Again, that’s something you have to do manually.
Blog Categories
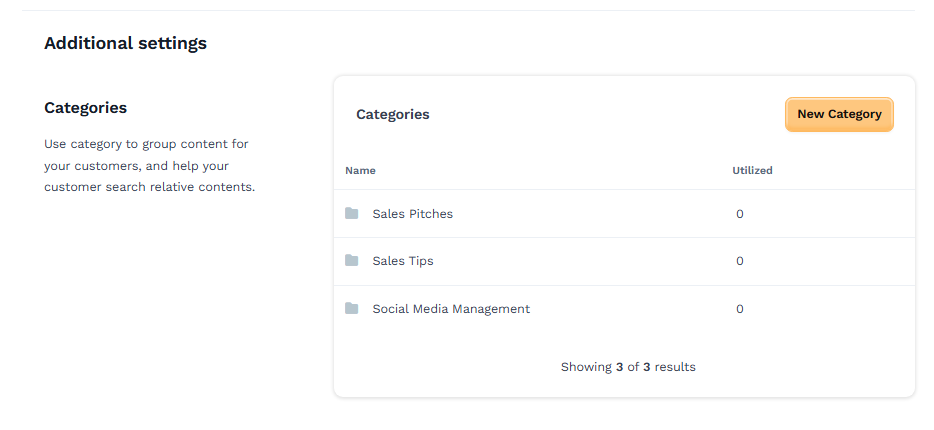
To keep your blog posts tidy and to enable readers to easily find them, it’s possible to arrange them into specific subject categories.
You can have as many of these as you like, which is great if you’re producing large amounts of content.

Displaying your blog categories is easy. All you do is select the Blog Category page element and click to add it into place. This updates dynamically with all the categories you’ve created, saving you the hassle of manually entering them.
You can decide how many categories are displayed and whether you want to include the category title and thumbnail or just the link to the page.
Dynamic Elements
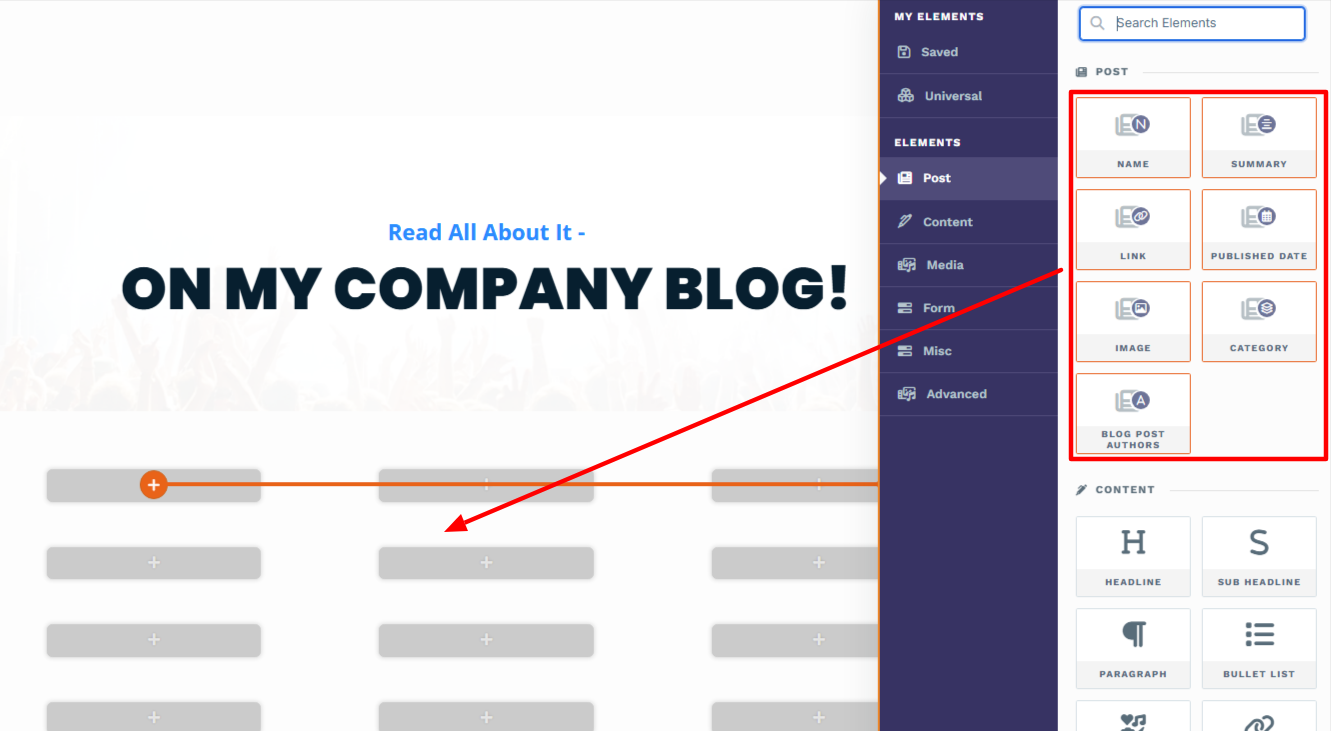
Blog categories aren’t the only dynamic element. You have one for your blog posts, too, but this one gives you a bit more flexibility over what’s displayed in the thumbnails.
Instead of just displaying the blog post titles, you can also include:
- A summary that provides a short description of the blog post
- A clickable link to view the full blog post
- The post’s publish date
- A featured image
- The category assigned to the post
- The blog post’s author
As you publish new posts, the dynamic list updates to display the fresh content on the page so you don’t have to worry about it showing old or outdated posts.
Breadcrumb Navigation
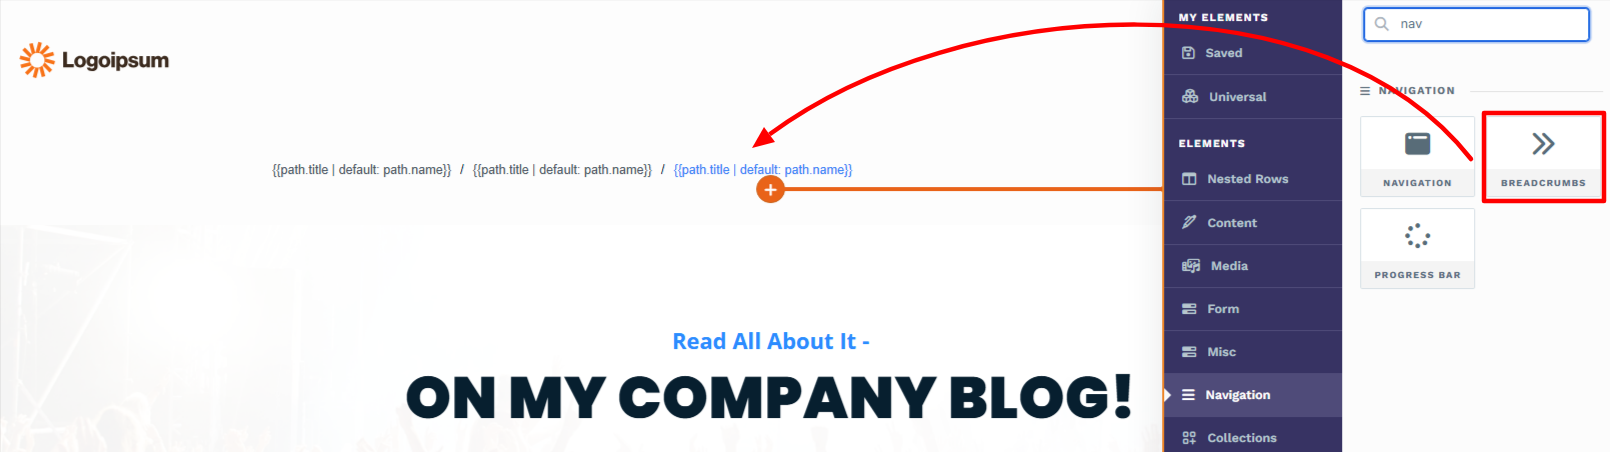
Breadcrumb navigation is a super useful feature if you have a lot of blog posts that link through to other posts, and so on.
Basically, it shows the path the reader took to get to their current location. Rather than getting lost in multiple layers of content, the reader can quickly find how to get back to a previous page by looking at the breadcrumb trail.
Adding this feature is fast. All you need to do is add the Breadcrumb page element, and it’ll dynamically update as a user navigates your site.
How to Create a Blog in ClickFunnels (A Quick Guide)
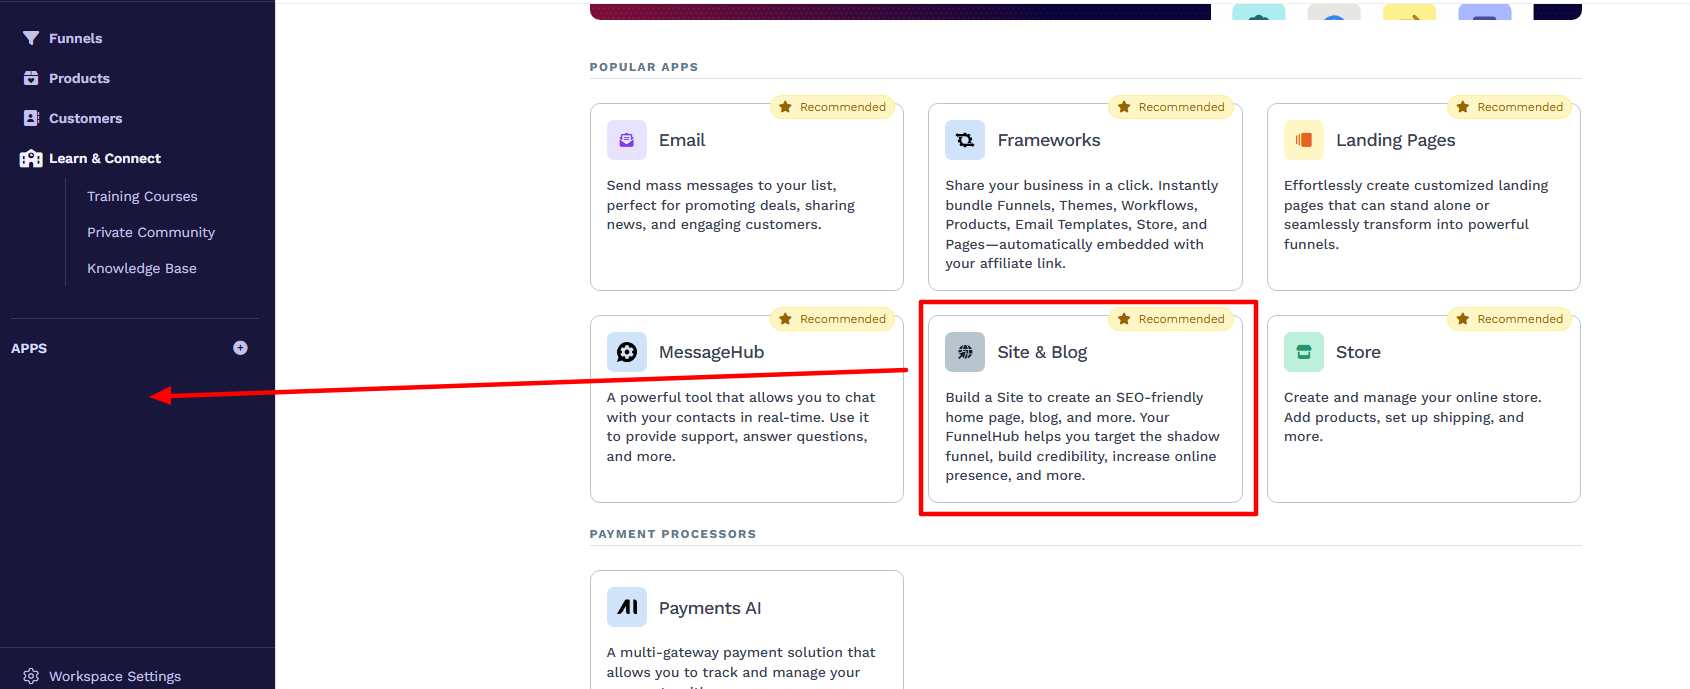
To get started with your blog in ClickFunnels, you have to add the Site and Blog app to your workspace.
Once you’ve done this, all the blogging features will be available for use.
Edit the Blog Homepage
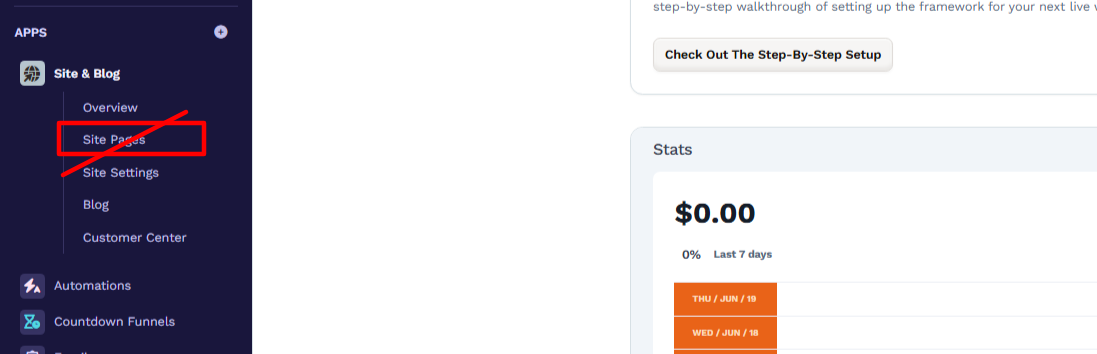
Finding the blog homepage can be a bit confusing at first (at least it was for me!). That’s because it’s not where you’d expect it to be, which is in the Site Pages tab.
Instead, you have to navigate to the Overview page, click to edit your site, and then find the blog home page in the left-hand navigation bar.
Once you’ve found it, you’ll notice that the page is pretty barebones, and you’ll need to customize it to match your brand and style, as well as add the various page elements you want.
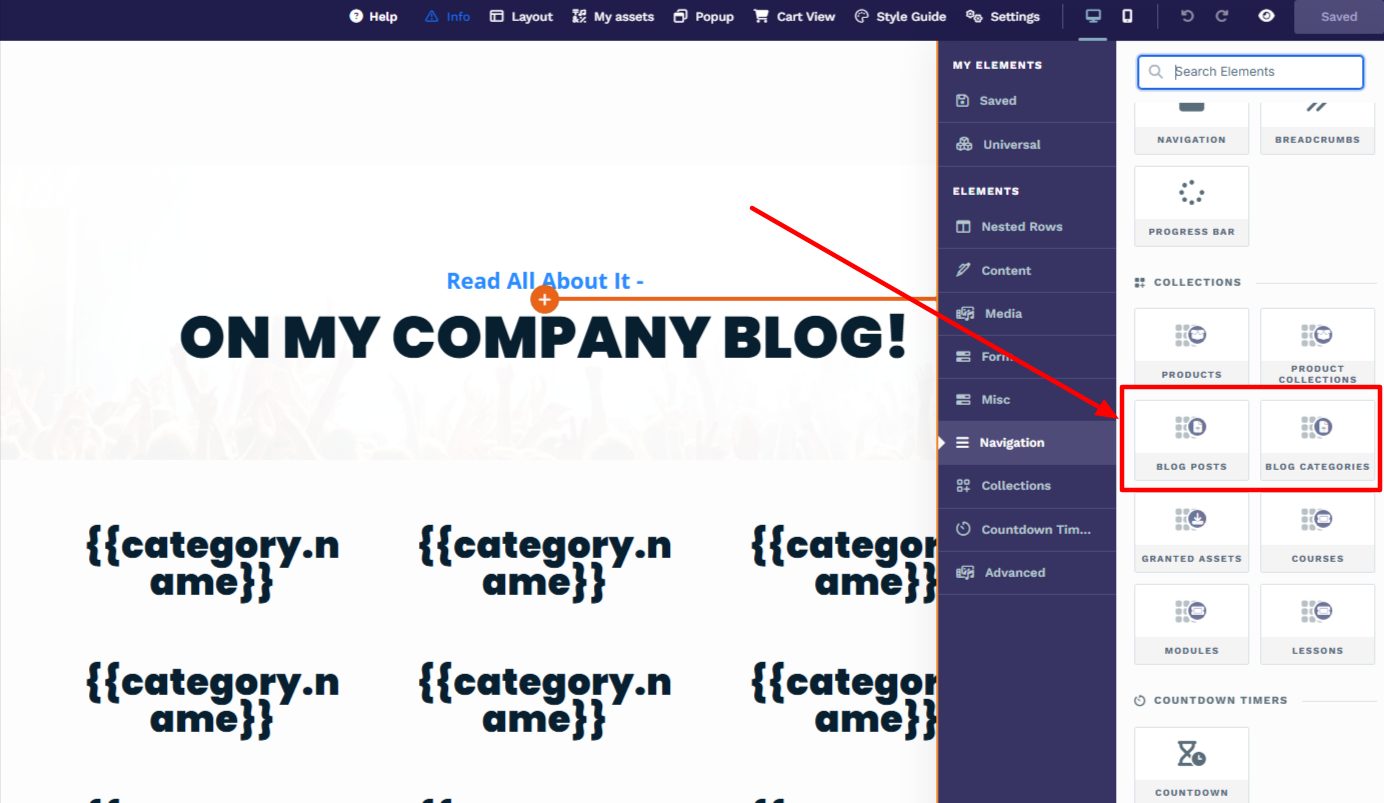
The most important elements to add to the page (the dynamic blog posts and collections elements) can be found in the Collections section of the element menu.
If you want to add the breadcrumbs element, you can find it in the Navigation section of the element menu. I recommend adding it to the top of the page so it’s visible to the reader.
Create and Publish a Blog Post

To write and publish your first post, head to the Blog tab and click New Blog Post.
ClickFunnels automatically generates a couple of sample posts, but they’re a bit pointless. You can go ahead and delete them if you want.
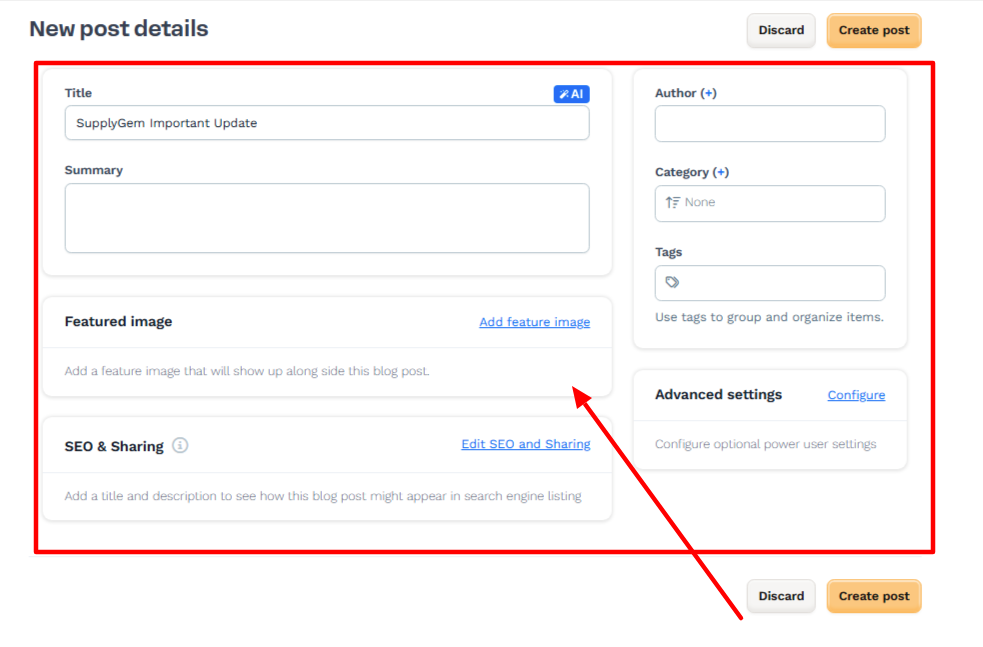
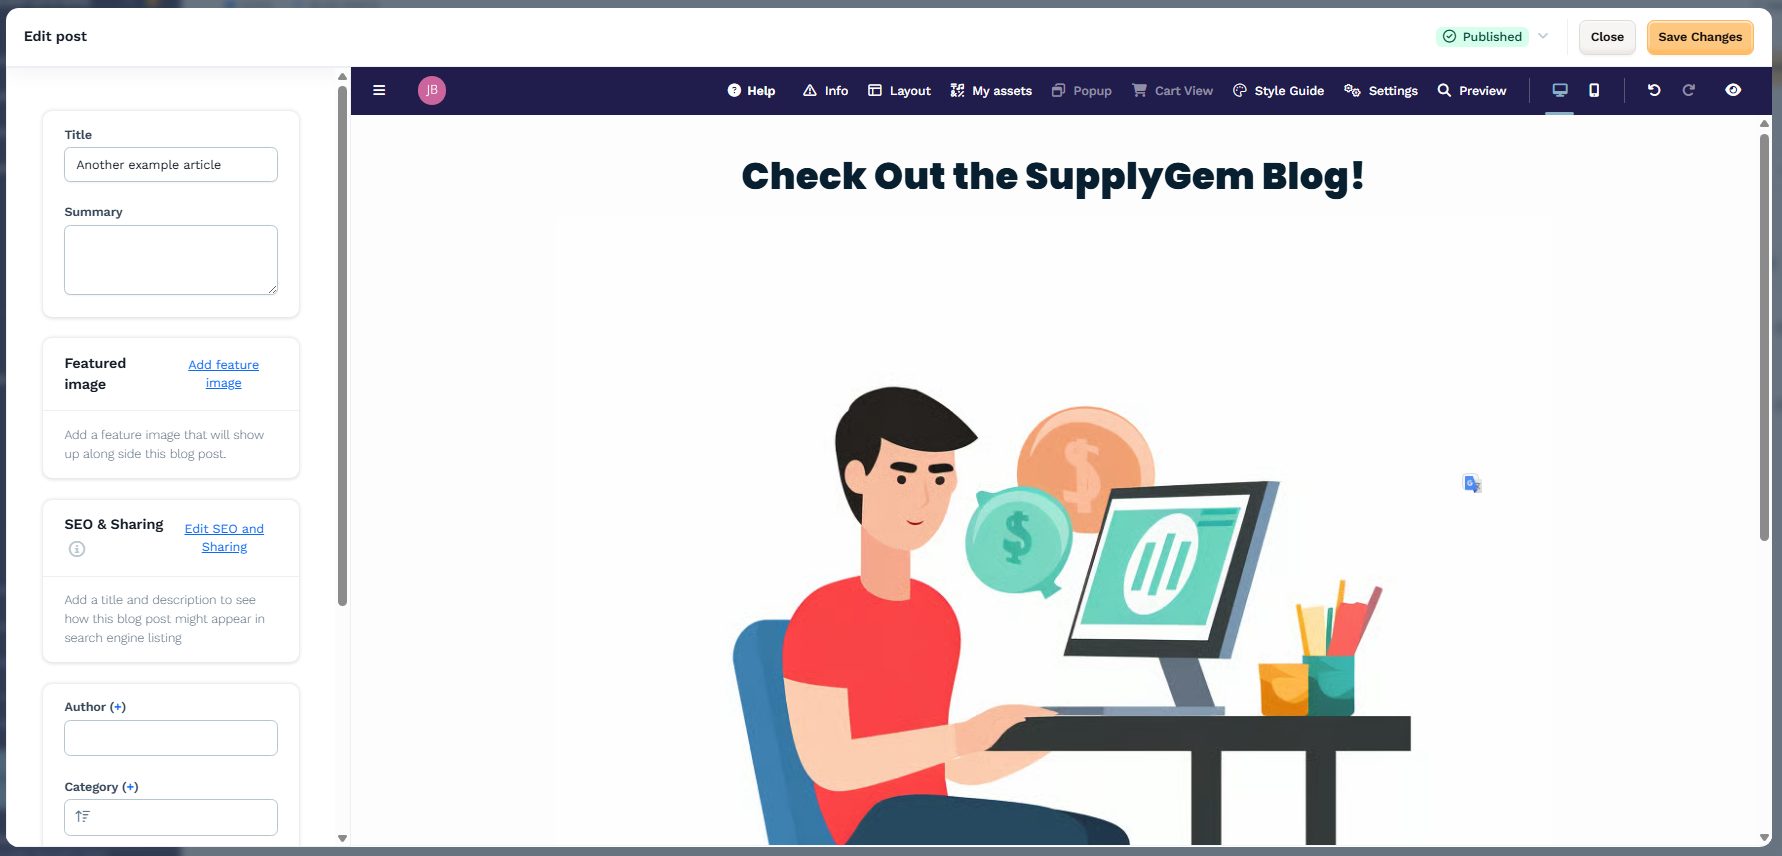
Next, you will be asked to input the blog post title, summary, and other information.
Don’t worry if you don’t want to complete it all at this point because you can do it within the blog post editor. A title will suffice until you’re ready to add the rest.
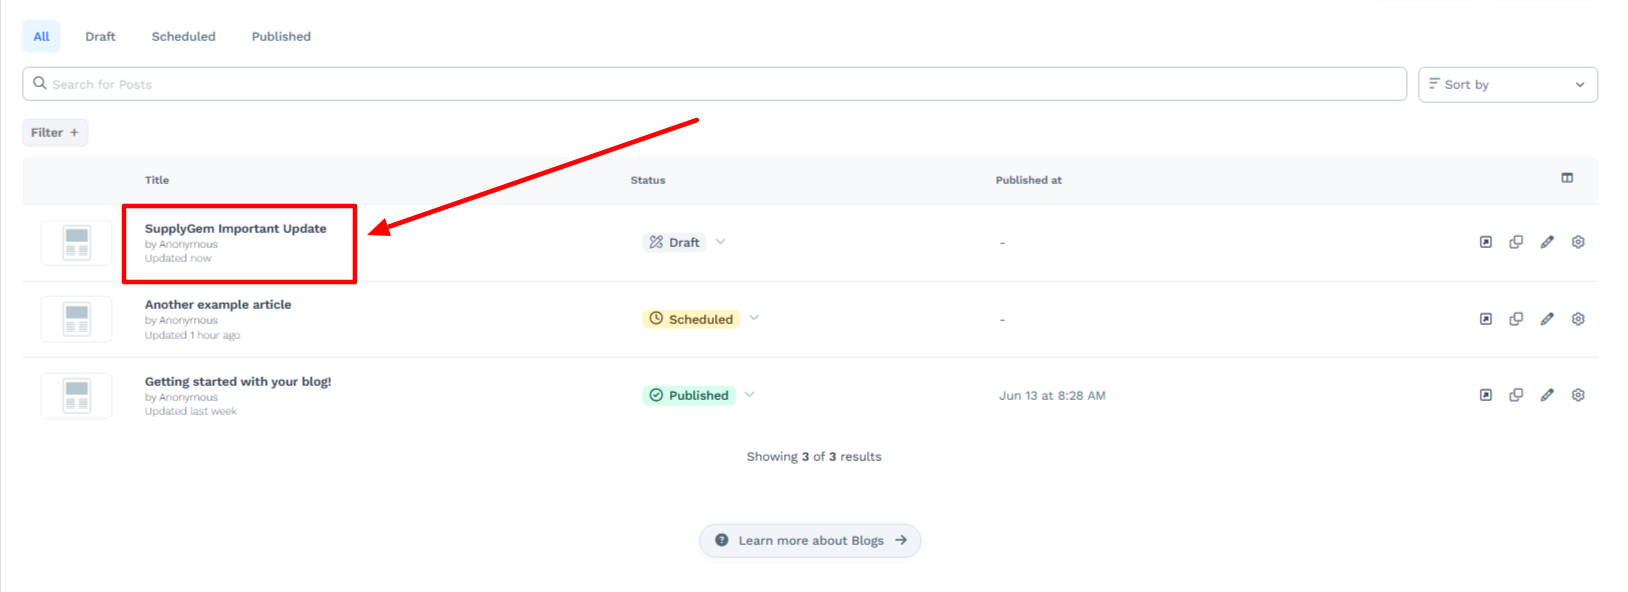
Once you’ve completed the above information and clicked Create Post, you will be taken back to the main blog post page. You’ll see your new post title listed, so go ahead and click it. The page editor will then open.
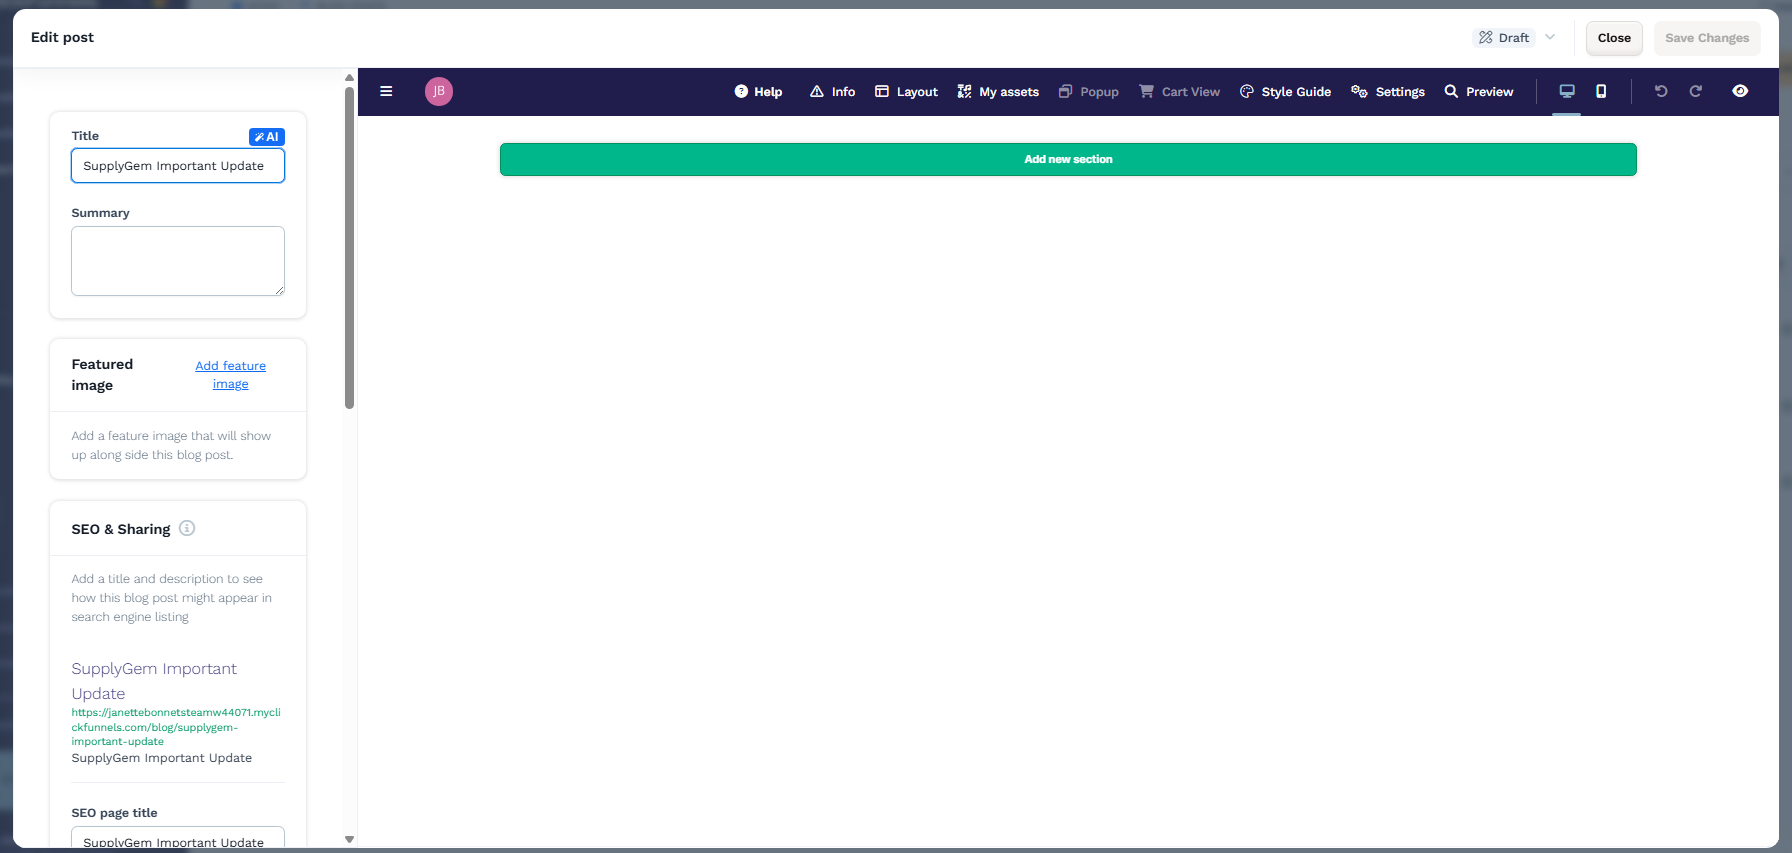
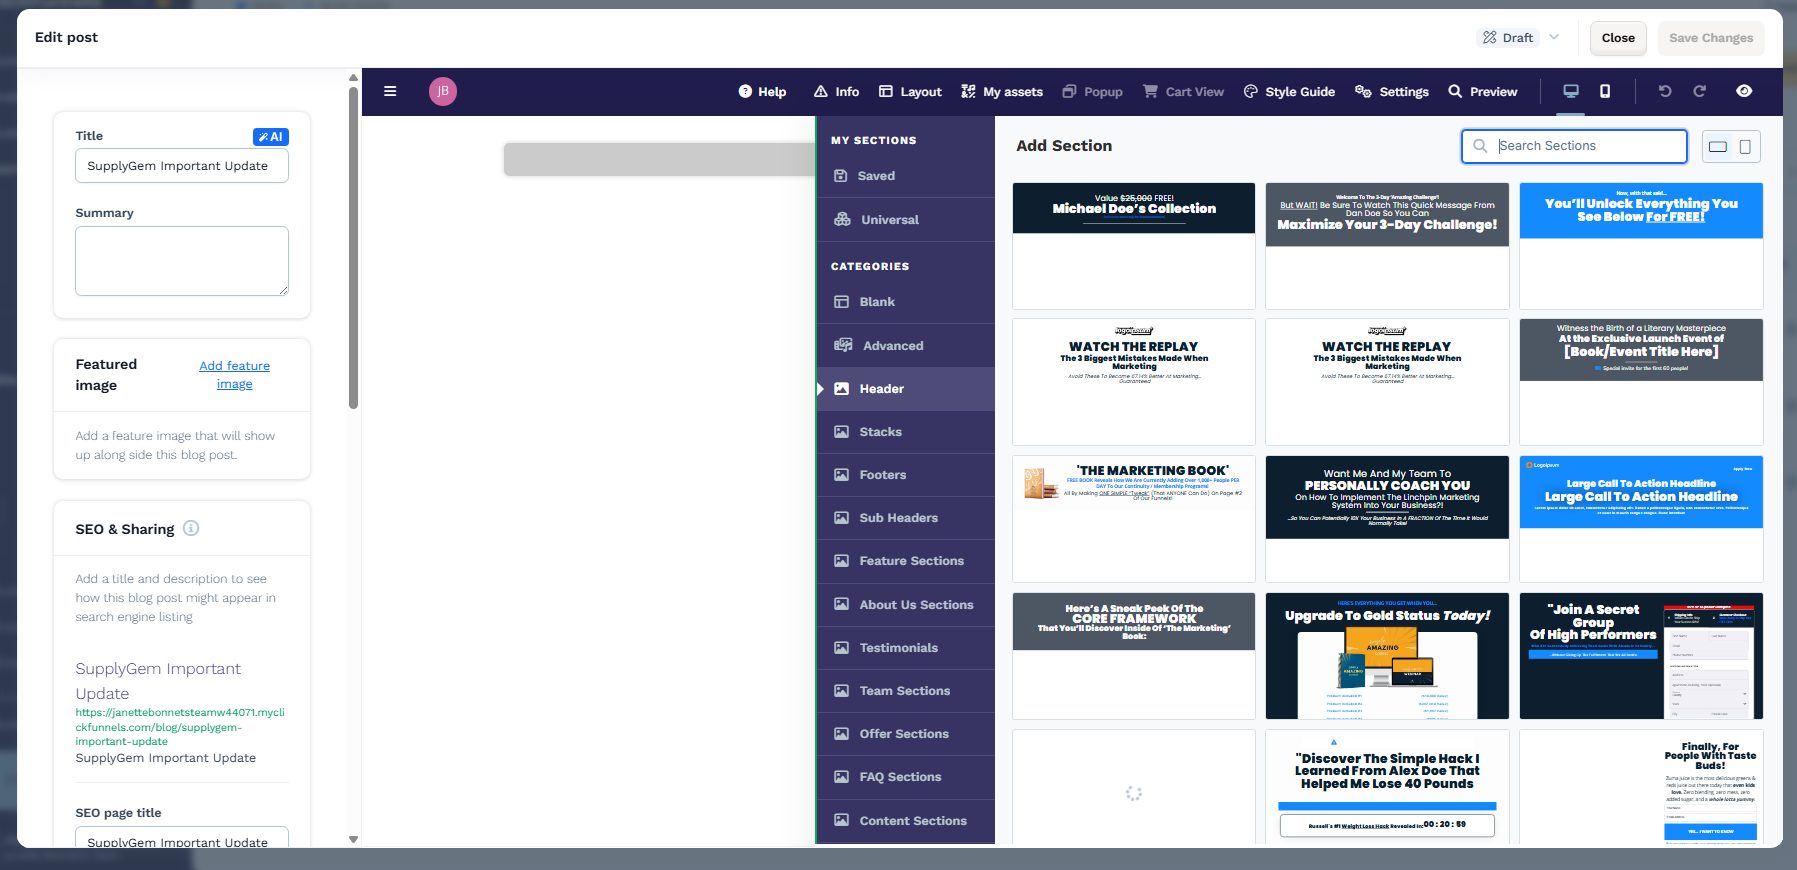
Now, you will be presented with a blank page. Unfortunately, ClickFunnels doesn’t have prebuilt templates for blog posts, so you’re going to have to start from scratch, at least for your first post.
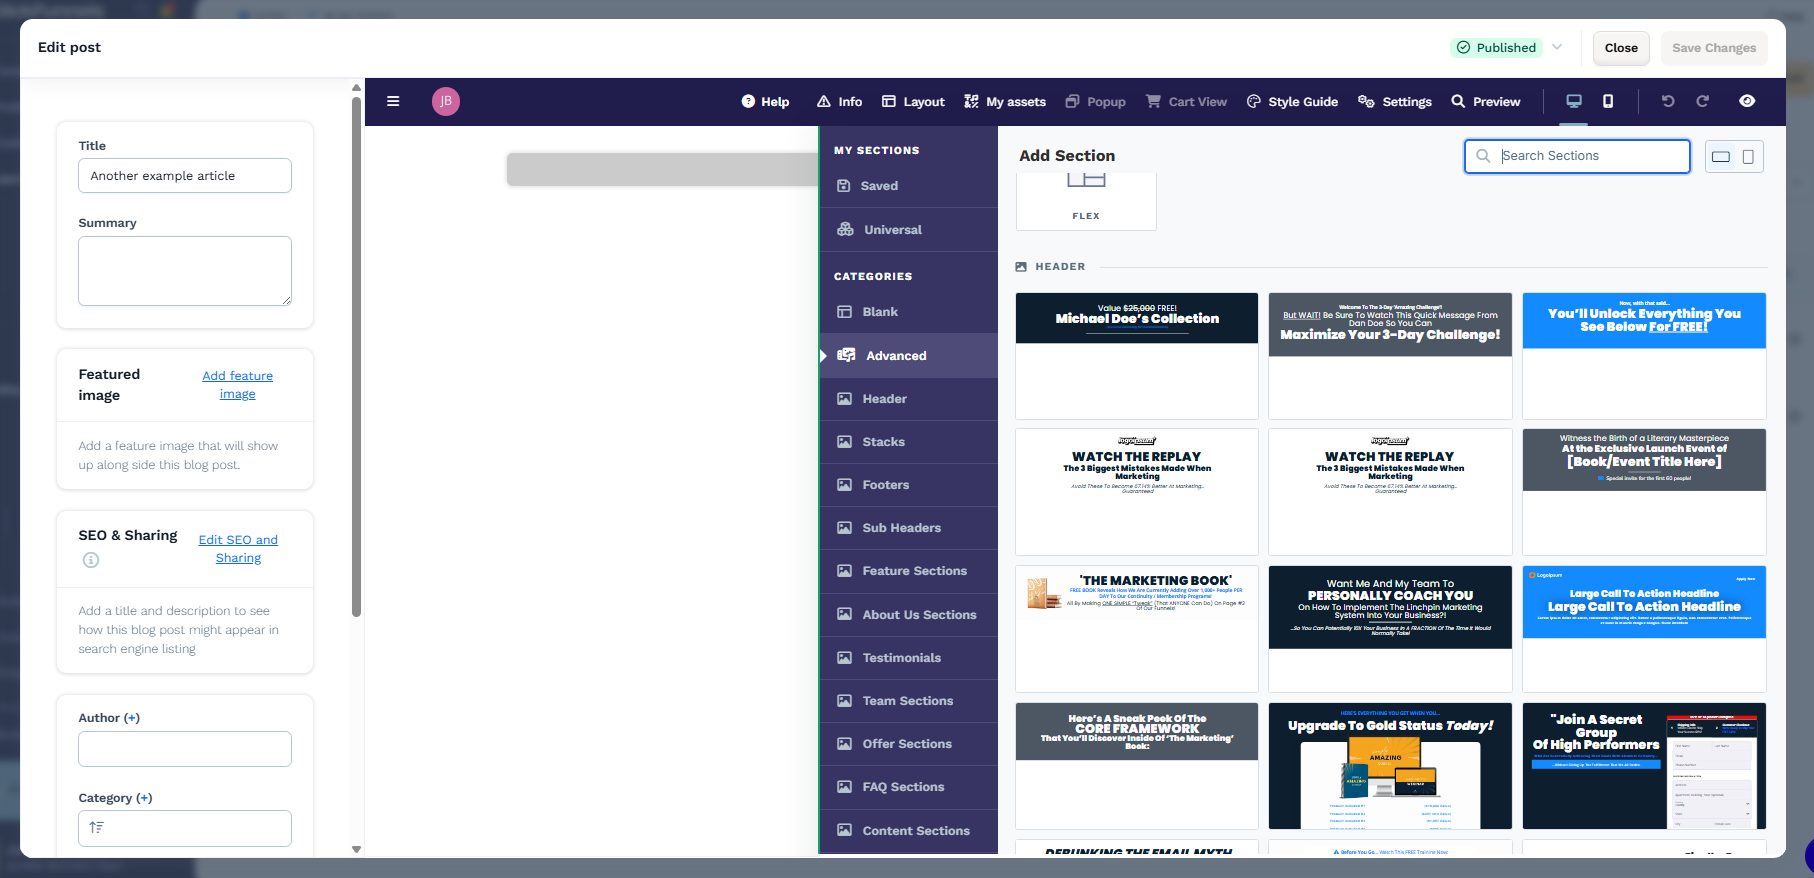
Click to add a new section, and the side menu will open up. Prebuilt sections are available, but I find them too salesy and unsuitable for blog posts.
If you agree, select the blank section and add in your preferred page elements.
Note that on the left, you have the opportunity to adjust the post title, add a thumbnail image, configure SEO, and more.
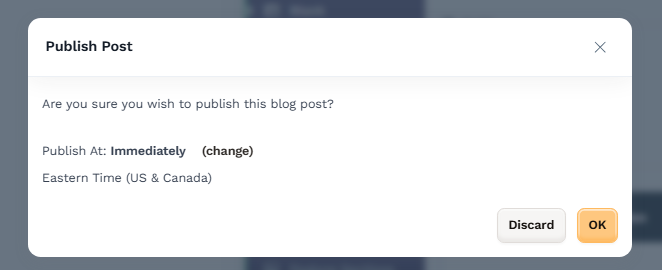
When you’re done, click Draft in the top right corner and select Publish.
You now have the option to publish your post immediately or schedule it for a later date.

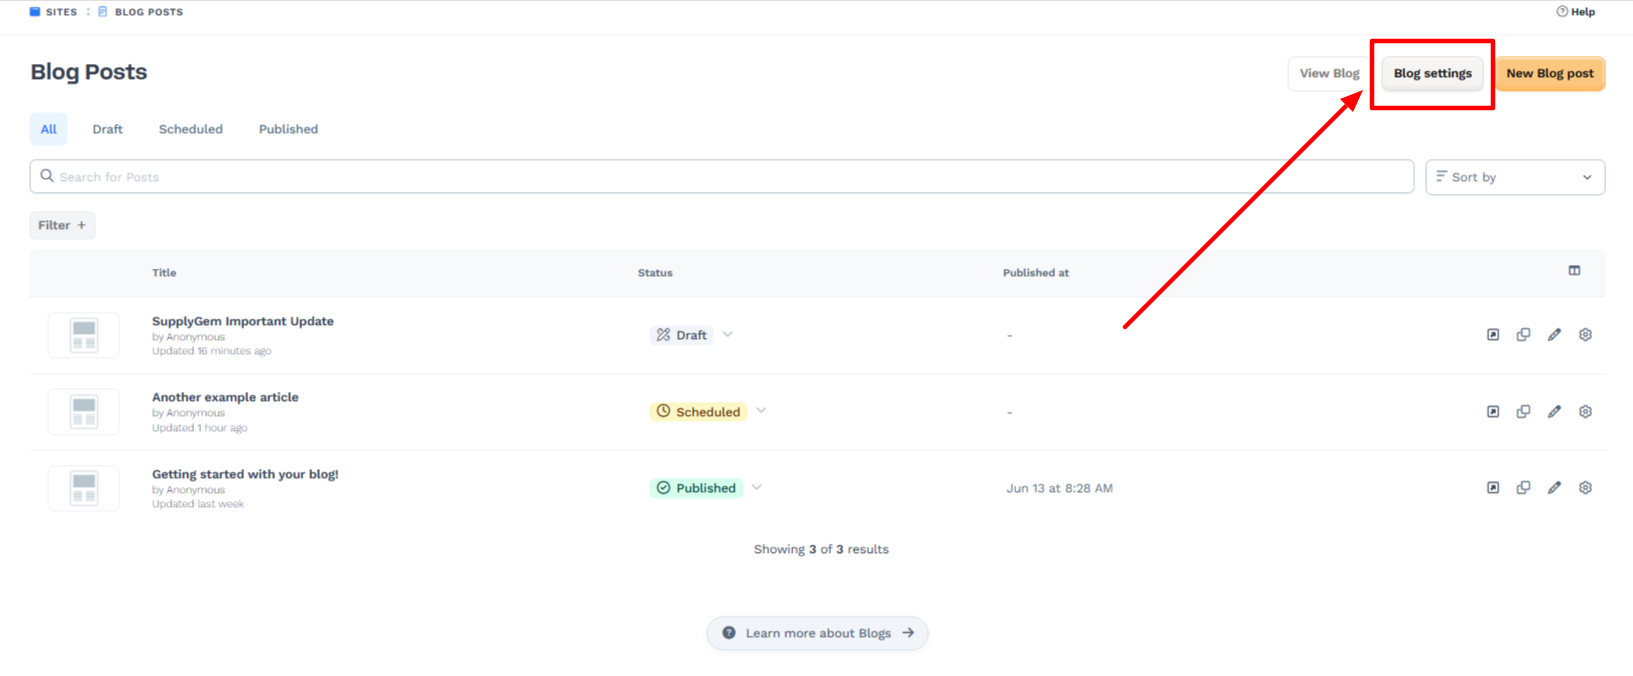
It’s also wise to configure the overall blog settings. You can do this by clicking the option in the top-right corner of the blog post list page.
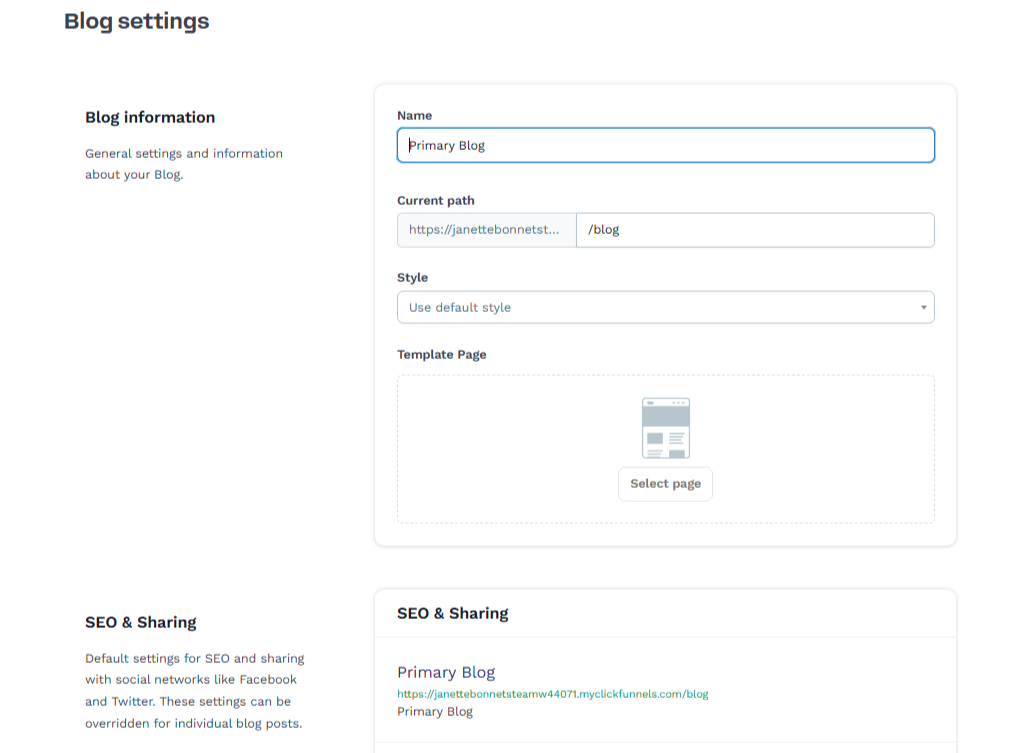
This is where you can set the name and URL of your blog, change the theme, and add your blog categories.
Bottom Line: Is the ClickFunnels Blog Feature Worth It?
Okay, so it’s important to realize that ClickFunnels was not designed as a blogging platform. Therefore, if that’s all you want to do, it won’t be the right tool for you.
You’re going to find it too limited and restrictive, and you’ll be paying over the odds for a platform that contains a bunch of features you don’t need.
However, if you’re making the most of ClickFunnels’ other features, such as funnels, courses, and so on, then the blogging feature will help you drive organic traffic over to your business.
Essentially, it’s a decent option for low-volume blogging, but it’s not ideal for professional bloggers or publishing large amounts of content.
Blog Alternatives to Consider for ClickFunnels
DropInBlog
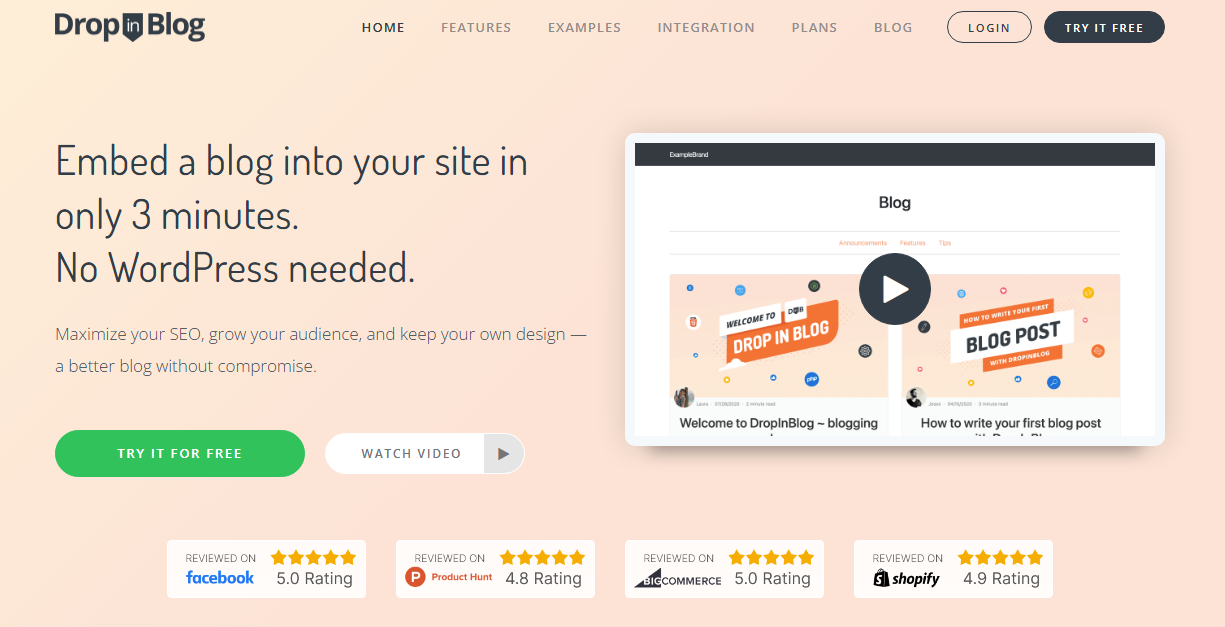
As a tool, I love the simplicity of DropinBlog. It’s super easy to create blog posts, and you can embed them onto any web page, including ClickFunnels’ pages.
It conveniently matches the style of the page it’s embedded onto, which saves you the hassle of excessive customization. Plus, it’s got lots of advanced features, including a real-time SEO analyzer, social sharing, and even the ability to transform blog posts into podcasts.
For me, this is the best way to add a blog to ClickFunnels without actually using ClickFunnels.
Plans are also quite reasonable, starting at $39 per month for a single user.
WordPress
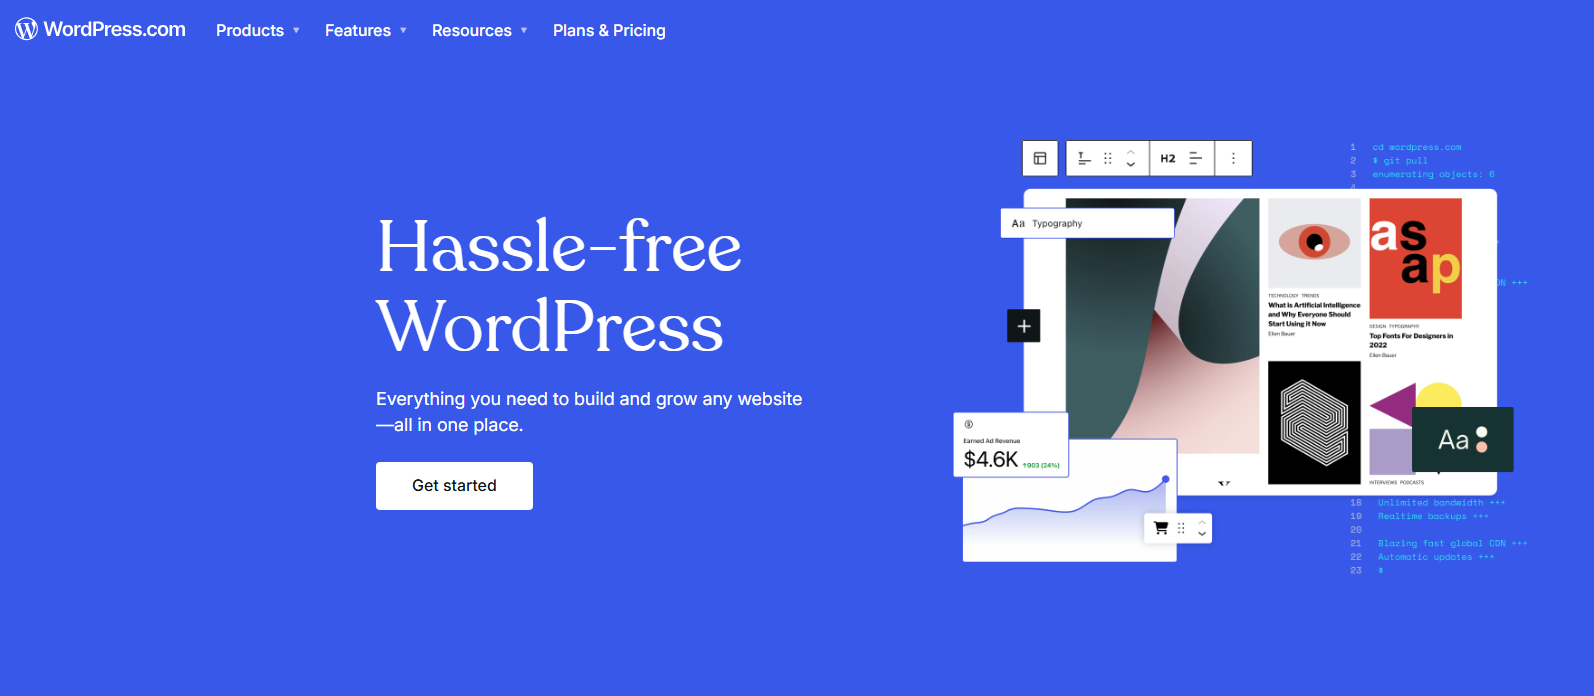
If you don’t mind jumping the technical hurdles, WordPress is still the undisputed champion of blogging platforms.
Since it was initially built for this purpose, it features the most advanced tools of all, including a wide range of plugins to enhance your SEO, page layouts, and more.
However, while it’s easier to use than it initially was, it still has a steep learning curve and will likely take you a lot more time to set up than it would if you used DropinBlog or ClickFunnels.
But the payoff is that you’ll have a fully customized site with superior SEO.
If you want to use WordPress with ClickFunnels, there are no native integrations. Instead, you have to connect the two sites using hyperlinks or sub-domains.
Frequently Asked Questions
How Many Blogs Can I Create in ClickFunnels?
The number of blogs you can create in ClickFunnels depends on your chosen plan and the number of workspaces it allows. You can create one blog per workspace: Launch plan: 1, Scale plan: 5, Optimize plan: 10, Dominate plan: 20.
How Many Blog Posts Can I Publish in ClickFunnels?
You can create and publish an unlimited number of blog posts in ClickFunnels.
Are Blogs Available for All ClickFunnels Pricing Plans?
Yes, the blogging feature is available on all ClickFunnels pricing plans. The only restriction is the number of blogs you can create.